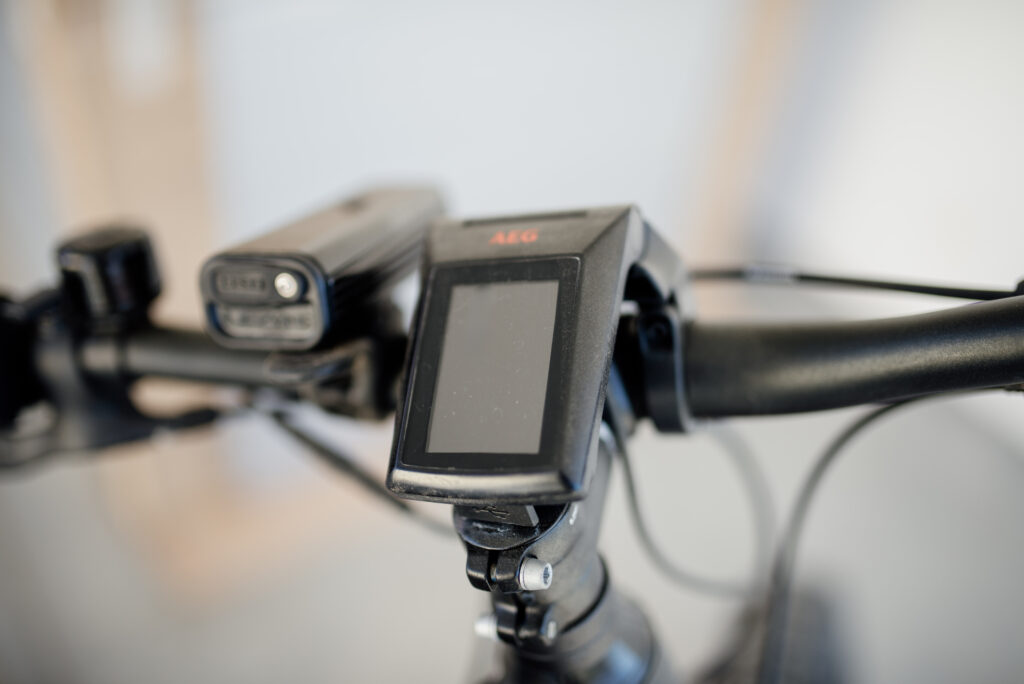
Quick answer: Before taking an unfamiliar electric-assist bicycle into traffic, find its exact operating instructions, identify the brakes and motor controls, and practice away from vehicles. Start with no assistance or the lowest assist setting recommended by the manufacturer. Learn to start, stop and put a foot down reliably before adding speed or other demands. (media.trekbikes.com)
This guide covers electric-assist bicycles with working pedals. It separates general riding practice from model-specific controls: a button sequence that works on one e-bike may not work on another. Your bicycle’s instructions take priority. (media.trekbikes.com)
1. Find the instructions for the bicycle and its electrical system
Record the bicycle’s brand, model and, if known, model year. Also identify the motor system and handlebar display or controller. Search the manufacturer’s official support pages using those details—not simply “e-bike manual.”
You may need more than one document. Trek, for example, directs e-bike owners to read its bicycle manual, the supplied e-bike quick-start guide and the supplemental electric-bicycle manual. Its manuals page also provides a document search. (media.trekbikes.com)
Before riding, find answers to these questions:
- How do I switch the system on and off?
- Which setting provides no pedal assistance, and which provides the least?
- Is there a throttle, walk mode or another starting function?
- What action activates each function, and what stops it?
- How do I confirm that the battery is secured?
- What do warning lights or error messages mean?
Use this as a reading checklist, not an invitation to discover unknown functions by pressing buttons. If the documentation does not match the controls in front of you, ask the manufacturer, rental provider or supplying shop to identify the correct version. Manufacturer instructions can distinguish between bicycle, electrical-system and component requirements. (media.trekbikes.com)
2. Identify the controls while stationary
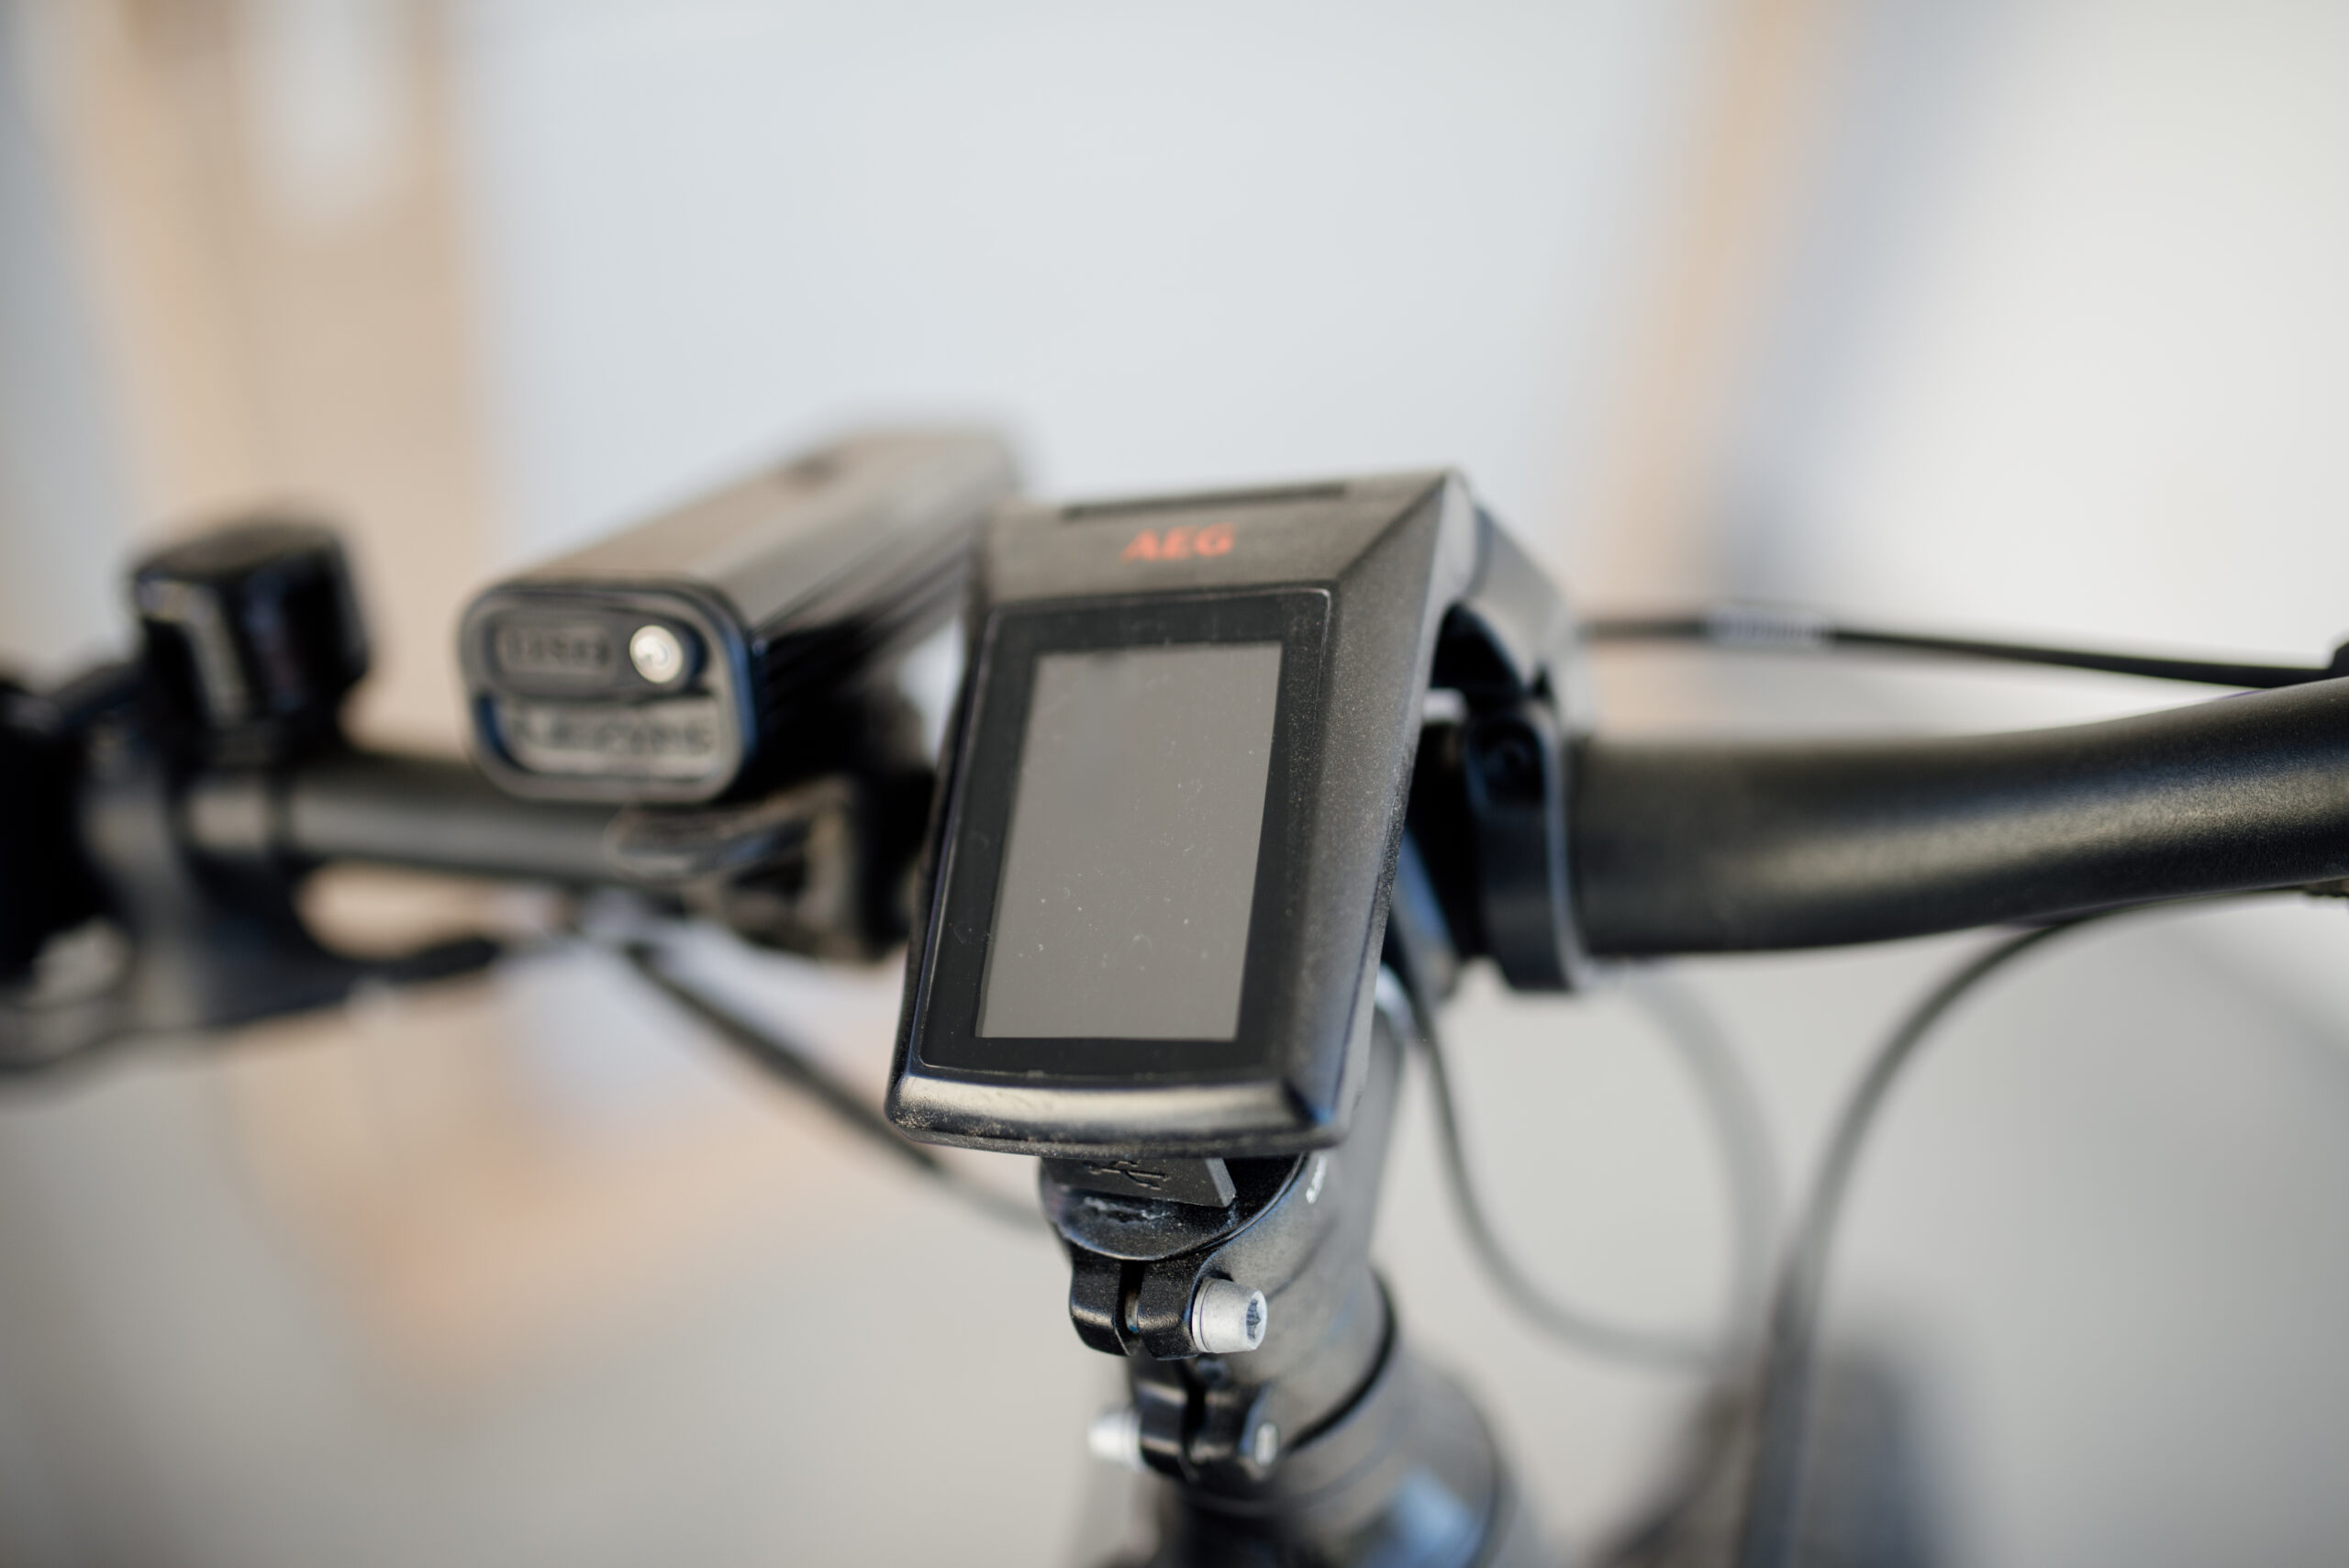
With the bicycle supported and the motor system off, locate both brake controls. Confirm which operates the front brake and which operates the rear; trace the cables or hoses, consult the manual, or ask someone qualified to show you. Also locate the gear shifter, bell, lights and power control. The RadRunner 2 manual, for example, provides a labeled handlebar diagram rather than expecting owners to guess. (una.edu)
Keep these functions separate:
| Function | What you need to understand |
|---|---|
| Pedal assistance | How pedaling calls for motor assistance and how to select a lower setting. |
| Mechanical gears | How to select a manageable pedaling gear, if the bicycle has selectable gears. |
| Throttle, if fitted | How it operates independently of pedaling and how to release or disable it. |
| Walk assistance, if fitted | How to activate and stop assistance intended for pushing the bicycle. |
Pedal assistance and mechanical gearing are different controls. The motor adds assistance; gears change the effort and distance associated with each pedal revolution. A throttle-equipped bicycle can also provide propulsion without pedaling, depending on its design. (radpowerbikes.com)
Do not assume that zero pedal assistance disables a throttle. The RadRunner 2 manual warns that its throttle can activate whenever the bicycle is powered on. It instructs riders to switch the bicycle off before moving it after dismounting. (una.edu)
Walk assistance is not a substitute for learning to start normally. For the RadRunner 2, the manual specifies using walk mode while dismounted, with both hands on the handlebar and a hand ready at a brake lever. Learn your own bicycle’s activation and cancellation instructions before trying it. (una.edu)

3. Check the bicycle and choose a suitable practice area
Begin with the ordinary bicycle checks. The League of American Bicyclists’ ABC Quick Check covers:
- Air: sufficient tire inflation.
- Brakes: brake condition and operation.
- Chain and cranks: cleanliness, condition and unwanted looseness.
- Quick releases: closure of any fitted quick-release mechanisms.
- Check ride: a short, slow ride to confirm normal operation. (bikeleague.org)
For an e-bike, also check the battery’s attachment and the controller’s operation against the applicable instructions. Do not ride with uncertain braking, steering or wheel attachment, or suspected structural damage. A checklist is not a mechanical inspection; have unresolved problems assessed before proceeding. (media.trekbikes.com)
Wear a properly fitted cycling helmet. Choose a bicycle that fits you and allows you to reach its controls comfortably. NHTSA notes that an oversized bicycle is harder to control and recommends practicing away from traffic. (nhtsa.gov)
For this first session, look for a permitted, level area with a predictable surface and generous clear space. Avoid pedestrians, moving vehicles, obstacles and entrances where someone might appear unexpectedly. An apparently empty parking lot still needs checking for vehicle movements. These are practical ways to apply NHTSA’s recommendation to begin in a safe environment away from traffic. (nhtsa.gov)
4. Practice handling the weight before adding assistance
First, with the system off, walk the bicycle, turn it around and hold it upright. Then practice mounting and dismounting without touching any throttle.
Pay attention to whether you can support the bicycle when it leans slightly. The National Park Service specifically cautions riders to mount and dismount e-bikes carefully because the battery and motor add weight. Do not assume that familiar bicycle-handling movements will feel identical. (nps.gov)
For a conventional upright bicycle, the League’s starting method is to stand ahead of the saddle, position one pedal high, push that pedal down and settle onto the saddle as the bicycle moves. At a stop, slide forward off the saddle and place one foot on the ground. Practice that transition before introducing motor assistance. (bikeleague.org)
If you cannot mount, reach the brakes or put a foot down without struggling, pause. Ask a shop or cycling instructor to help assess fit and technique rather than using stronger assistance to compensate. NHTSA recommends both an appropriately fitting bicycle and on-bike instruction. (nhtsa.gov)

5. Make short, low-assist starts
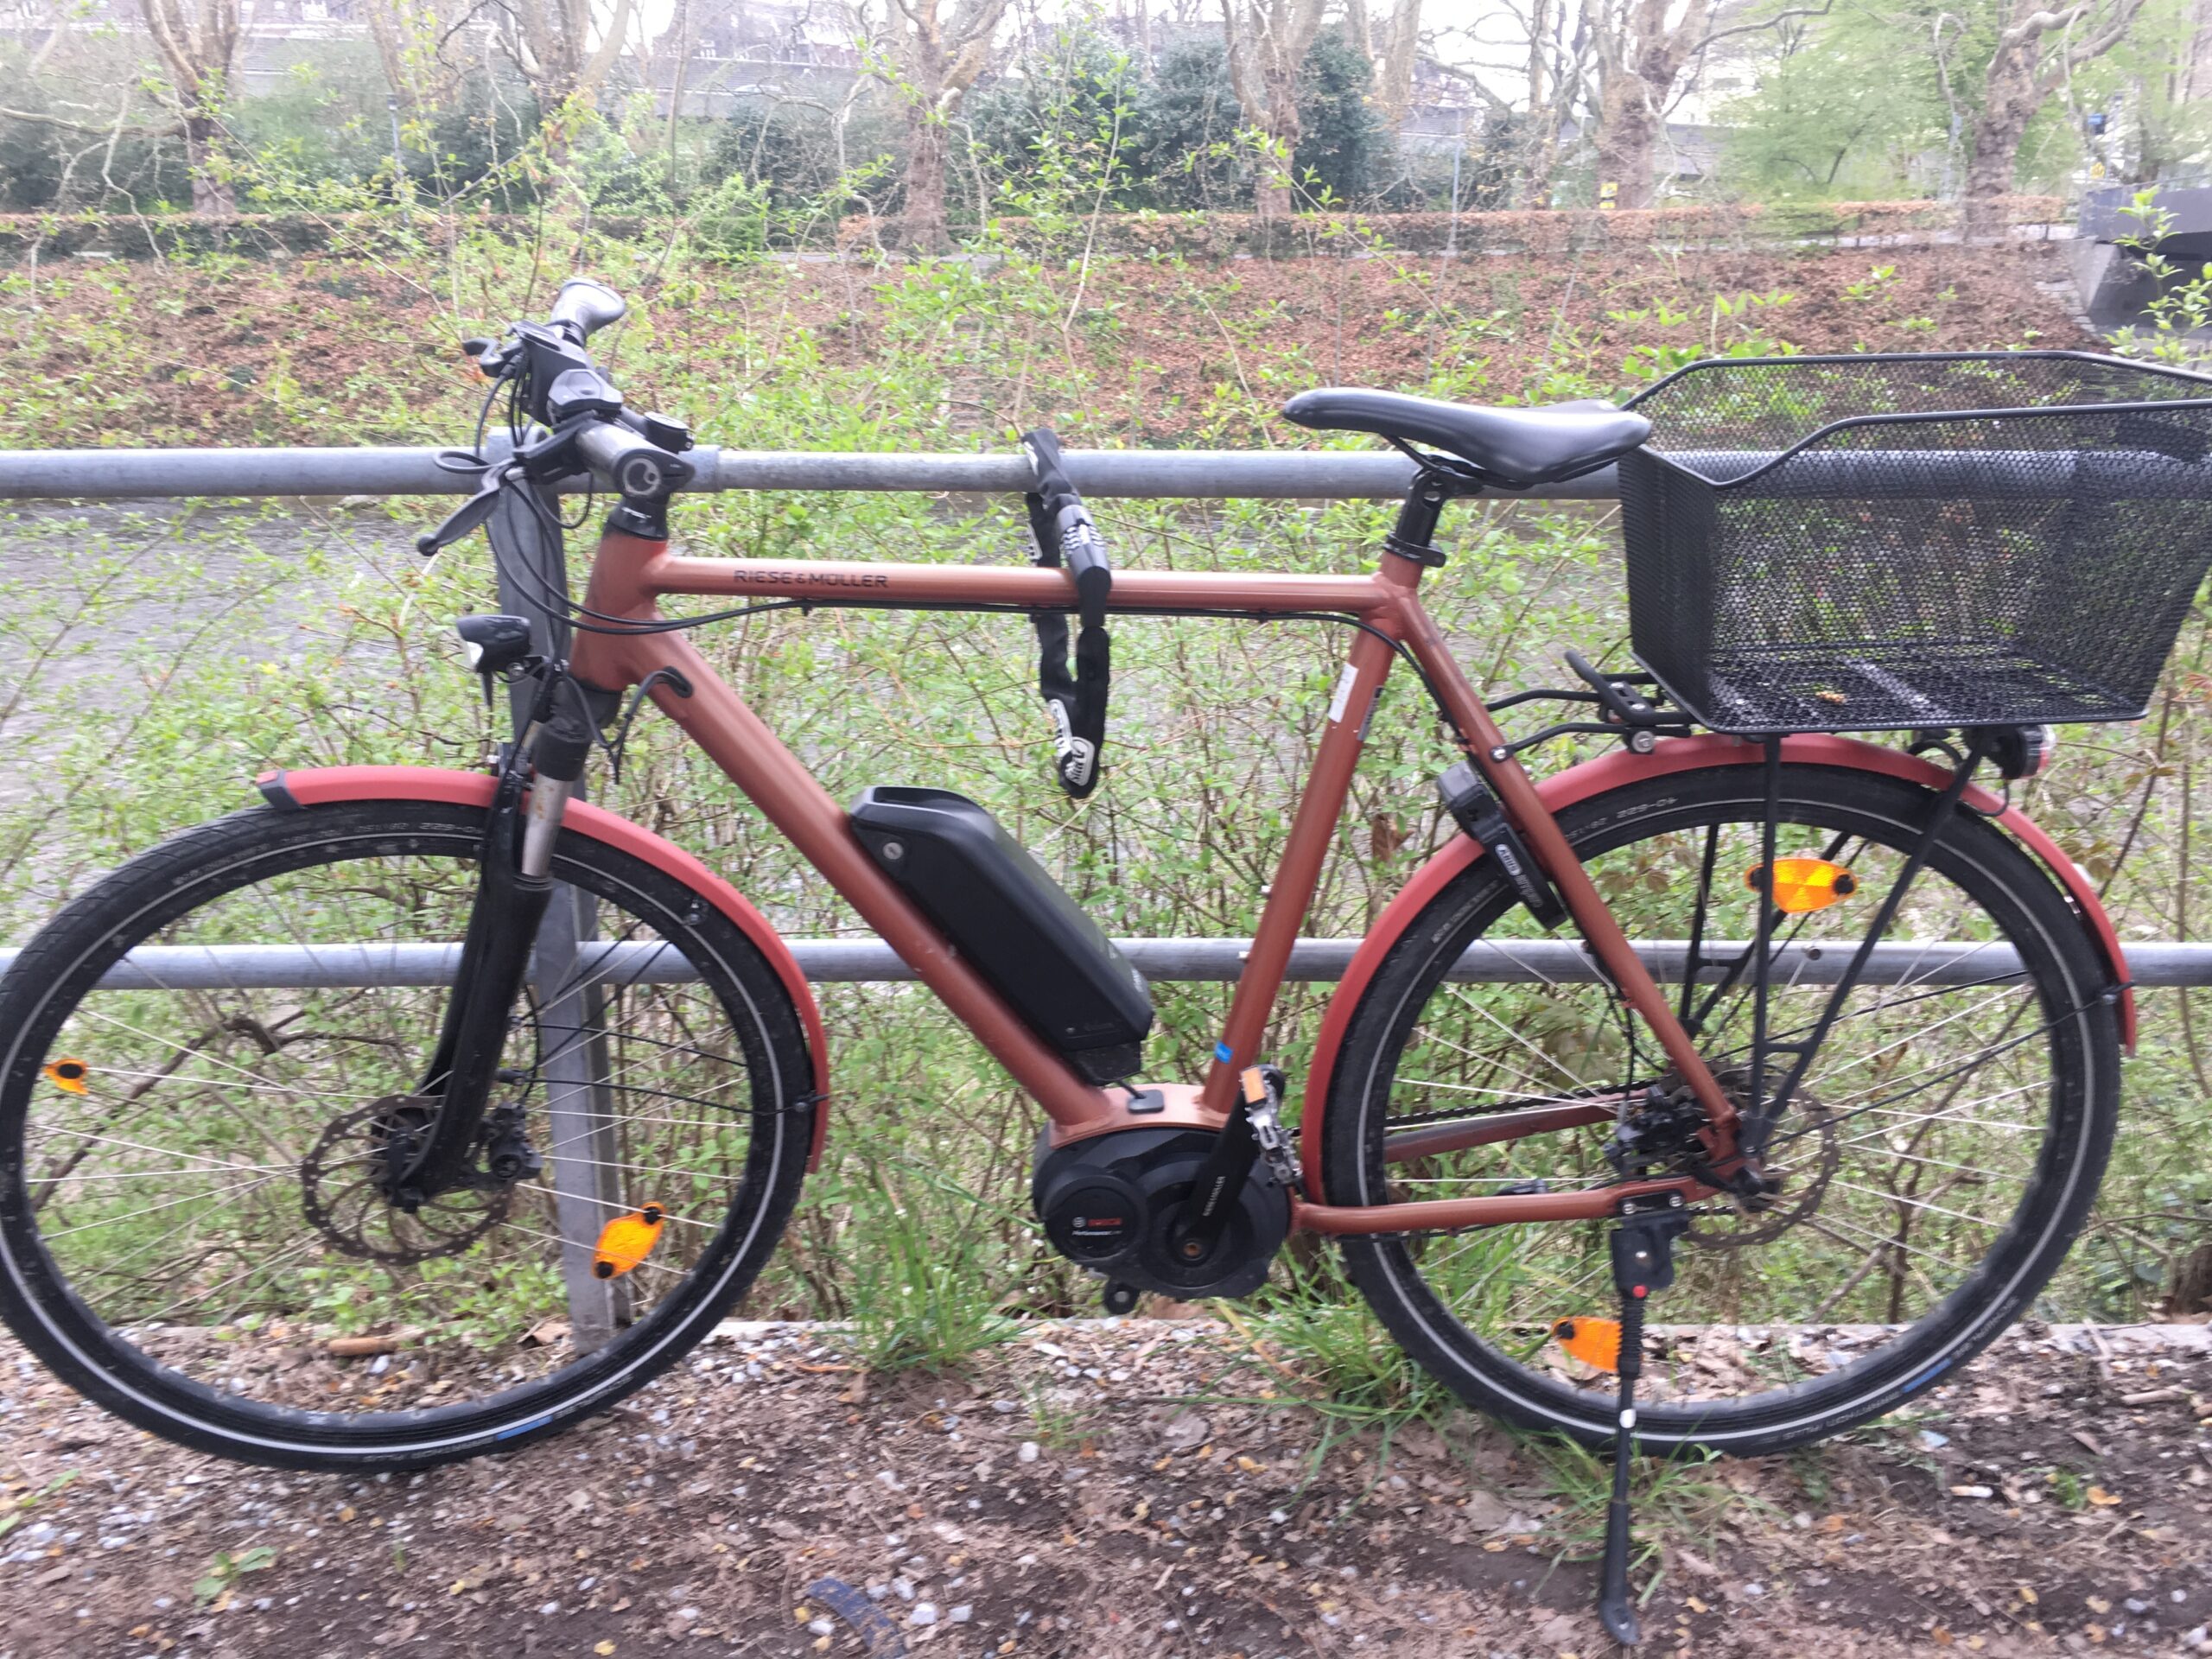
Once the checks and stationary practice are complete, use this progression:
- Select no assistance or the lowest setting recommended for initial riding.
- Point the bicycle into the clear practice space.
- Hold both grips, with your hands ready to operate the brakes.
- Start pedaling gently.
- Ride a short, straight stretch, then stop.
- Repeat before changing the assistance level.
Rad Power Bikes’ introductory guidance recommends starting at a low assist setting, practicing without obstacles and being firmly mounted before pedaling activates assistance. Treat the first few starts as a chance to learn the response, not to test maximum acceleration. (radpowerbikes.com)
Notice when assistance begins and what happens when you stop pedaling. Do not assume instant motor disengagement: Rad’s published explanation describes a delay on the cadence-sensing systems discussed there. The response of your particular bicycle must be established from its instructions and controlled practice. (radpowerbikes.com)
Worked example: interpreting a RadRunner 2 manual
The RadRunner 2 manual specifies pedal-assist levels 0–4: level 0 gives no pedal assistance and level 1 gives the least. It recommends initial riding at 0 or 1 on flat ground clear of people and obstacles. A suitable first exercise is therefore a straight start-and-stop at level 0, followed by the same exercise at level 1 if comfortable. Keep clear of the throttle. This is a model-specific example, not a universal setting scheme. (una.edu)
Change one thing at a time. A higher assistance setting should not be your first attempt at a turn, a hill or a loaded journey.
6. Learn controlled stops before tighter turns
On a bicycle with two hand-operated brakes, practice applying both smoothly while traveling slowly in a straight line. Stop pedaling, release any throttle and progressively squeeze the brakes rather than grabbing a lever abruptly. Excessive front braking can lift the rear wheel; excessive rear braking can cause a skid. (trekbikes.com)
As the bicycle slows to a stop, move forward off the saddle and place one foot on the ground. Keep supporting the bicycle while stationary. Repeat until the sequence feels deliberate rather than rushed. (bikeleague.org)
Next, choose a visible stopping point with plenty of unused space beyond it. Practice approaching slowly and stopping before that point. This is a learning exercise, not a stopping-distance test or proof of emergency-braking competence.
Only then add broad turns. Reduce speed before turning rather than relying on hard braking partway through the turn. Trek’s riding guidance warns that hard braking during a turn can cause skidding and loss of control. (trekbikes.com)
Watch for these common mistakes:
- Looking down at the display: stop before studying settings or menus; prolonged display watching takes attention from obstacles. (media.trekbikes.com)
- Using your feet as the main stopping method: learn to brake first, then place a foot down. (bikeleague.org)
- Treating motor cutoff as a brake: releasing assistance and applying the bicycle’s brakes are separate actions. (radpowerbikes.com)
7. Check readiness—and the rules—before a journey
Use this first-session checklist to identify what still needs practice:
- I can hold, walk, mount and dismount the bicycle without unintended assistance.
- I know the brake controls and can stop smoothly.
- I can select the lowest assist setting and recognize the selected mode.
- I understand any fitted throttle or walk function.
- I can start repeatedly without unexpected acceleration.
- I can make broad turns and put a foot down predictably.
- I can look ahead rather than continually watching the display.
These are practice prompts, not a certification. Traffic riding also requires observation, signaling and communication with other road users. NHTSA recommends on-bike classes to develop those skills. (nhtsa.gov)
Before leaving, check the official rules for both your jurisdiction and the roads or paths you intend to use. Look for bicycle classification, age limits, helmet requirements, required equipment and route restrictions.
For example, California prohibits under-16s from operating Class 3 e-bikes and requires helmets for Class 3 operators and passengers on the public routes specified in its law. That example does not establish the rules elsewhere. (leginfo.legislature.ca.gov)
National parks provide another important distinction: park superintendents determine which eligible routes and e-bike classes are permitted. Check the individual park’s instructions rather than assuming permission follows from state law or ordinary-bicycle access. (nps.gov)
For your first journey, choose familiarity over ambition. If you are still surprised by acceleration or uncertain about stopping, return to practice or seek hands-on instruction. More assistance is not the next step until you can control what you already have.