Quick answer
Choose a route you can manage comfortably—not simply the shortest one. Check its difficult junctions, rehearse the journey without an arrival deadline, and use that ride to plan your departure time. Carry belongings in a secure backpack or compatible bicycle luggage, test your control with the actual load, and arrange a way home if riding is no longer practical. These steps follow established cycling-education and public-agency guidance. (bikeleague.org)
1. Choose a manageable route before choosing a departure time
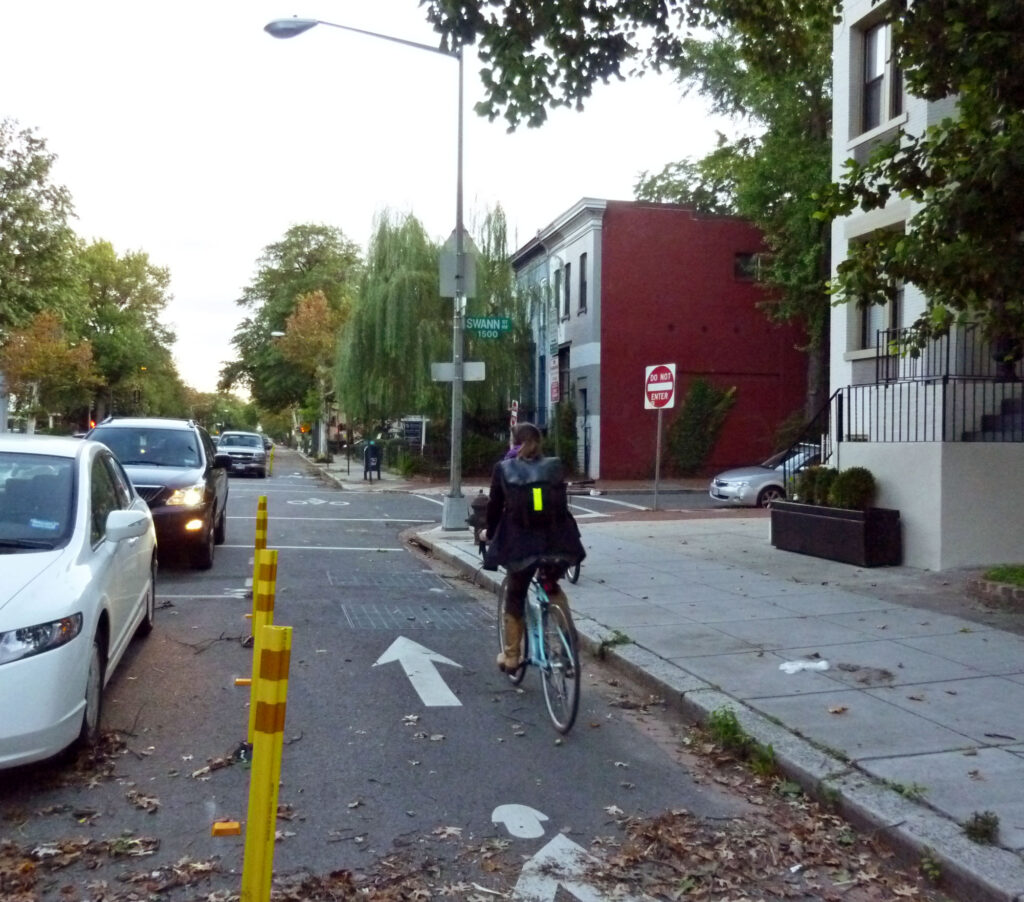
For a first commute, prioritize lower traffic volumes, slower motor-vehicle speeds and connections you understand. NHTSA recommends choosing quieter, slower roads or suitable bicycle facilities; the League of American Bicyclists also advises considering terrain and road condition rather than distance alone. (nhtsa.gov)
Start with your local transport authority’s bicycle map, then compare it with a bicycle-mode journey planner. Portland’s transport bureau, for example, provides an official interactive bike map. Look for the equivalent where you live; a map for another city cannot establish your local route conditions. (portland.gov)
Make a shortlist of two routes and investigate:
- Continuity: Where does a bicycle lane or path end?
- Crossings: How will you cross the busiest roads?
- Terrain: Are there climbs or descents you would rather avoid initially?
- Surface: Is the route paved, rough or affected by construction?
- Access: Are there gates, stairs, restricted entrances or posted opening hours?
- Arrival: Does the route reach the entrance and bicycle parking you actually need?
Treat this as a scouting checklist, not a rating that guarantees safety. Official maps can identify facilities, but conditions still need checking on the ground. Portland’s biking guide specifically recommends testing an unfamiliar commute when you are not under time pressure. (portland.gov)
Do not automatically copy your driving route. A nearby local street or path connection may make a slightly longer bicycle journey more manageable. (portland.gov)

2. Resolve difficult junctions before the first workday
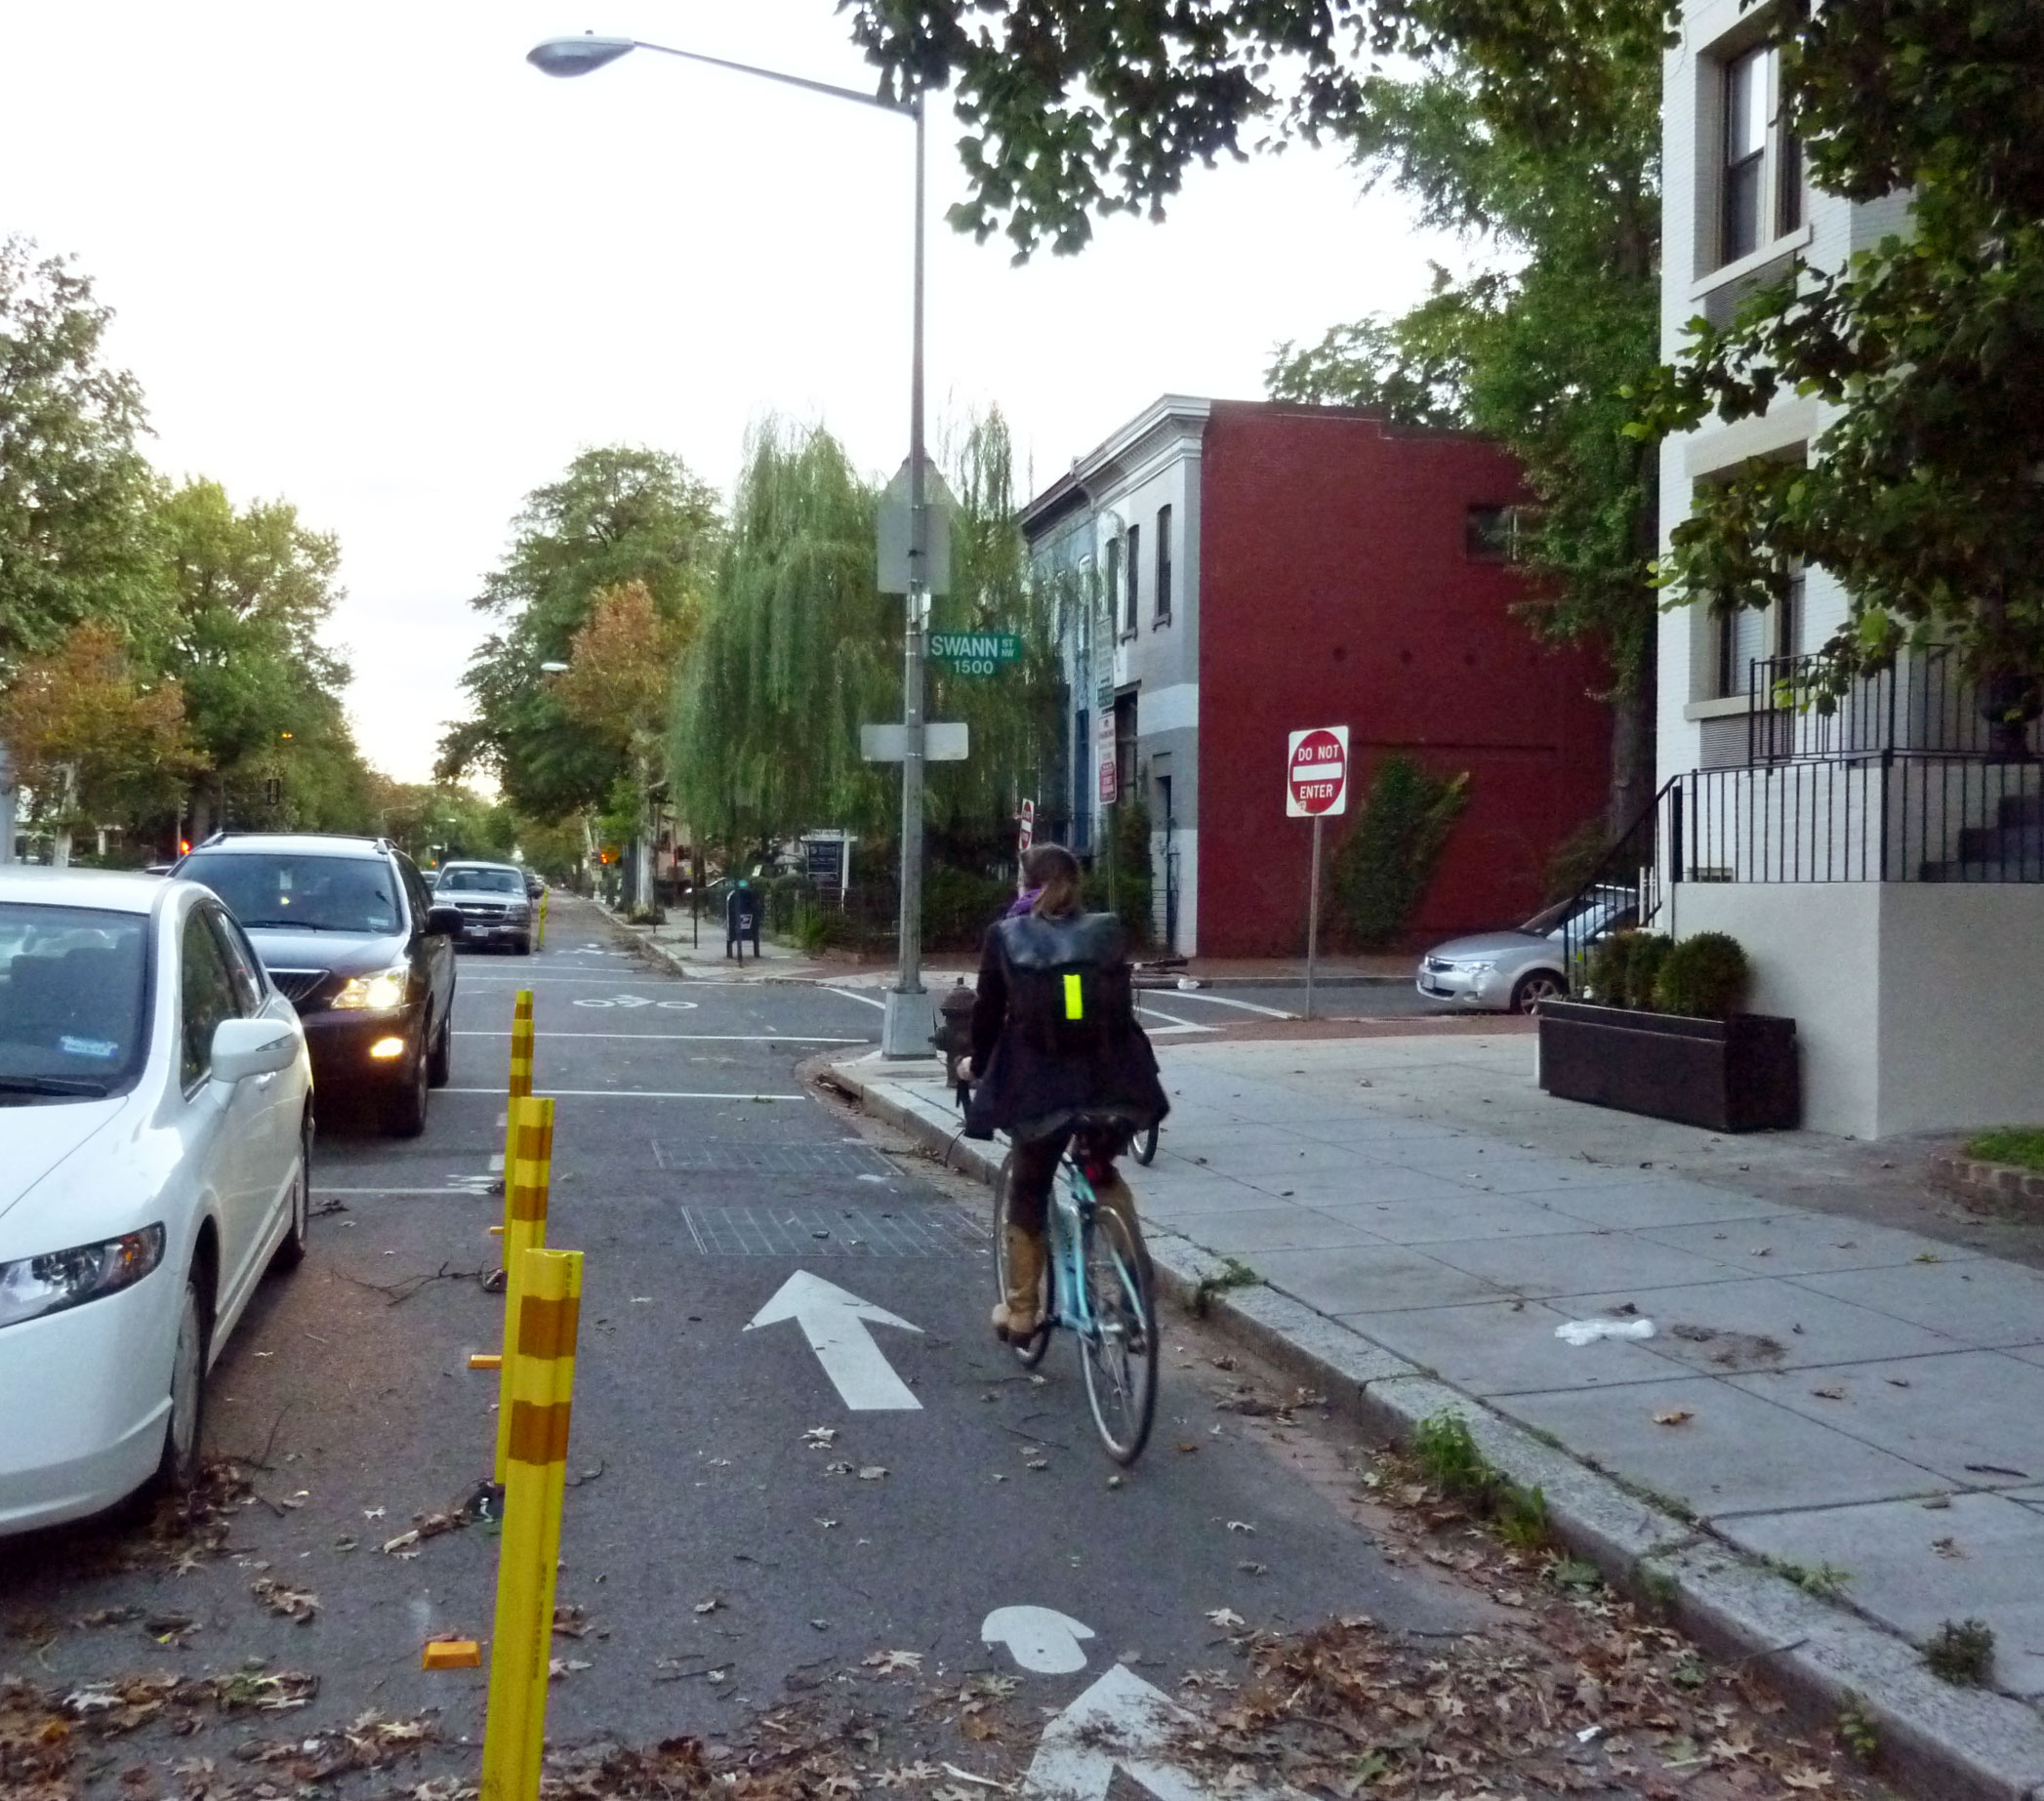
Review junctions separately from the stretches between them. A comfortable bicycle lane does not answer every question about the intersection ahead: which signal applies, where you should wait, or how turning traffic crosses your path. Oregon’s bicycle manual highlights these conflict points and explains that green paint is a reminder to watch for crossing vehicles—not a guarantee of protection. (oregon.gov)
For each difficult junction, write down:
- Which direction am I going?
- Which marked lane or crossing serves that movement?
- Does the bicycle facility continue through the junction?
- Where could a vehicle turn across my route?
- What alternative will I use if I cannot complete the movement comfortably?
If your route requires a lane change or turn beyond your present ability, look for another route or a lawful pedestrian crossing where you can walk the bicycle. Plan how to reach that crossing without a sudden maneuver. Follow the signals and crossing rules where you live; riding permissions differ between jurisdictions. (oregon.gov)
Do not use your first commute to teach yourself an unfamiliar traffic maneuver. If a necessary junction remains confusing, seek hands-on cycling instruction before relying on it. Cycling UK recommends training for riders who need help developing street-riding confidence. (cyclinguk.org)
3. Rehearse the journey without an arrival deadline
Schedule a trial ride when you have time to stop, inspect a junction or change your plan. A weekend can work, but choose conditions that are manageable locally. Both the League and Oregon’s transport agency recommend a low-pressure rehearsal. (bikeleague.org)
Use this trial-ride worksheet:
- Ride at a pace you would willingly repeat before work.
- Carry the belongings you expect to take on the real commute.
- Record elapsed time, including stops—not just time spent moving.
- Note places where you needed to check directions.
- Locate the actual bicycle parking and building entrance.
- Check the return journey rather than assuming it is simply the outward route reversed.
These are practical ways to turn a rehearsal into a usable plan. The trial’s purpose is to discover the journey’s timing and supply needs; checking parking in advance is also recommended by public cycling guidance. (oregon.gov)
Practice with your load away from traffic before beginning the route. Cargo affects balance, starting, stopping and steering, so an unloaded ride is not a complete rehearsal for a loaded commute. (oregon.gov)
If you ride with someone experienced, agree that you will set the pace and can stop to reconsider. Cycling UK warns that a confident companion’s preferred roads or speed may not suit a beginner. (cyclinguk.org)
4. Compare routes and calculate door-to-desk time
Use your rehearsal to build a schedule that includes parking and getting ready for work. Do not treat an app’s estimate as an arrival promise. Cycling UK recommends using a trial to estimate journey time and allowing extra minutes for the real commute. (cyclinguk.org)
Here is an illustrative planning example, not measured route data or a prediction of your speed:
| Planning factor | Route A: shorter, busier | Route B: longer, quieter |
|---|---|---|
| Hypothetical distance | 3 miles | 4 miles |
| Route character | Busy main road; one difficult turn | Local streets and a path connection |
| Assumed trial elapsed time | 24 minutes | 31 minutes |
| Assumed arrival tasks | 9 minutes | 9 minutes |
| Chosen initial allowance | 10 minutes | 10 minutes |
| Total planning time | 43 minutes | 50 minutes |
The calculations are:
- Route A: 24 + 9 + 10 = 43 minutes
- Route B: 31 + 9 + 10 = 50 minutes
In this example, Route B costs seven additional minutes. If its crossings are more manageable for the rider, that may be a worthwhile trade. The longer route is not automatically safer; the choice depends on its actual conditions and the rider’s skills.
For a 9:00 a.m. start, the example’s Route B departure would be 8:10 a.m. The ten-minute allowance is a planning choice, not an evidence-based universal buffer. Replace every assumed figure with your own observations.
Record the homeward journey separately. Choose a first commuting day without an unusually tight arrival deadline if your schedule allows. (cyclinguk.org)
5. Pack lightly and choose luggage that preserves control
You do not need to solve every future commuting need before your first trip. Begin with the items required for that day, then choose how to carry them. Backpacks can work without a rack; racks, panniers and baskets offer other options when compatible with the bicycle. (bikeleague.org)
A pannier is a bag carried beside a bicycle rack. Whatever system you use, it must leave your hands available for riding and keep cargo away from steering, pedaling and moving parts. NHTSA recommends carrying items in a backpack or secured to the rear of the bicycle, rather than in your hands. (nhtsa.gov)
Use this light packing checklist:
- Keys, work access card and anything essential for the working day.
- Charged phone and a saved route.
- Water.
- A lock appropriate to the parking arrangement.
- Working lights for the expected journey—and an unexpectedly late departure.
- Weather clothing and a change of clothes if needed.
- Flat-repair supplies and tools you know how to use.
Public cycling guidance supports carrying water, repair supplies, lights and a lock, while checking workplace facilities and keeping spare clothing there can simplify the journey. (oregon.gov)
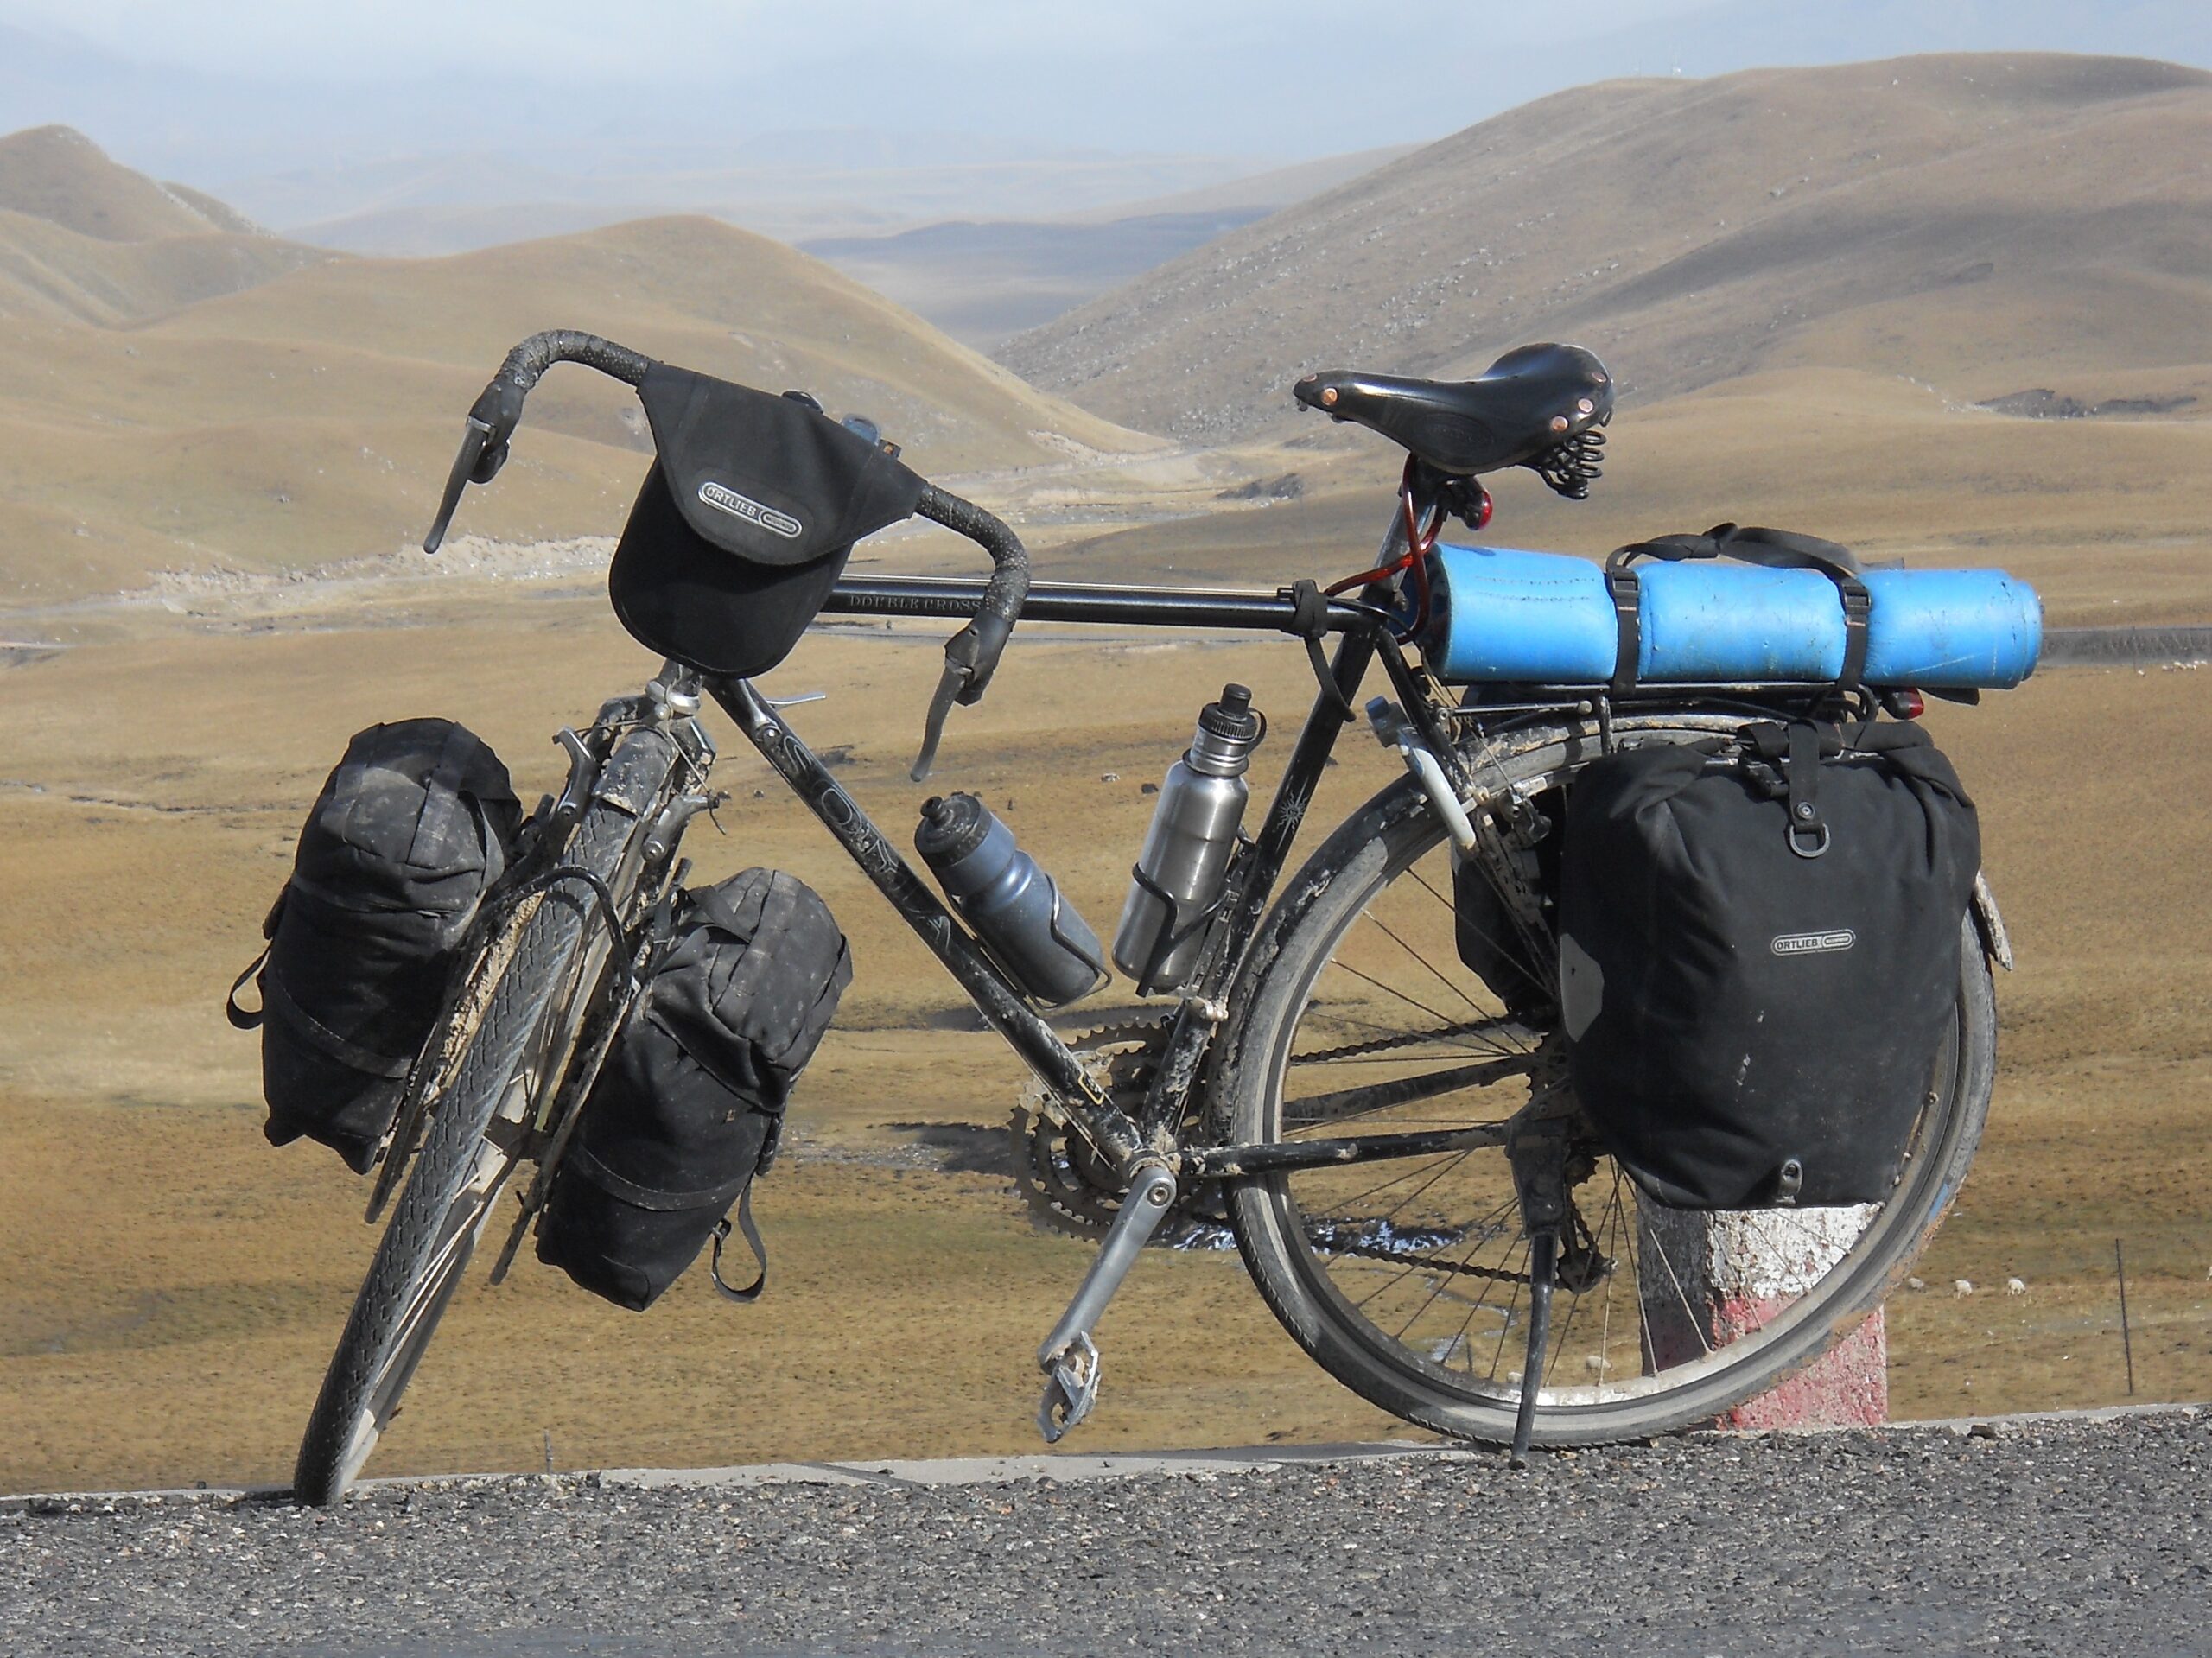
Check limits before loading a rack. The bicycle, rack, bag and attachment system can have different restrictions. Bag volume is not a weight allowance. ORTLIEB, for example, specifies different capacities for different Quick-Lock systems and requires riders to respect the rack’s limit as well. Those figures do not apply to unrelated equipment. (us.ortlieb.com)
Find the instructions for your exact models and weigh the packed load if necessary. If compatibility or a limit is unclear, ask the manufacturer or a qualified mechanic rather than guessing. (downloads.ortlieb.com)

6. Check the bicycle and the secured load before leaving
Before a loaded ride, check tires, brakes, drivetrain and wheel attachment using the applicable manufacturer instructions. Wear a properly fitted cycling helmet. A short test ride can help reveal problems, but it cannot establish that every component is sound. (oregon.gov)
Then check your luggage:
- Attachment: Confirm that clips, hooks, catches and straps are engaged as the manufacturer specifies.
- Rack security: Check the rack and its fittings for damage, instability or looseness.
- Clearance: Check that the luggage does not obstruct steering or pedaling and cannot contact moving parts.
- Loose ends: Secure dangling straps, cords and clothing.
- Visibility: Keep lights and reflectors unobstructed.
- Control: Make a short, low-speed test in a suitable traffic-free space before entering traffic.
These checks reflect transport-agency cargo guidance and rack-manufacturer instructions. Loaded handling can differ from unloaded handling; do not ignore interference or movement because the bag appears to fit. (oregon.gov)
Common mistakes include hanging a lock from the handlebars, leaving straps near the wheel, covering a rear light, and assuming two bags’ capacities establish the rack’s total capacity. The League advises against a handlebar-hung lock, while manufacturer guidance requires secure straps, visible lights and compliance with rack limits. (bikeleague.org)
If braking, steering or wheel security is uncertain, do not start the commute. Likewise, do not use a damaged or unstable rack; obtain qualified help before riding. (oregon.gov)
7. Arrange weather and transport alternatives in advance
Check the forecast for both journeys. Decide what you will do if conditions become unsuitable for your experience or equipment. This could mean postponing the first ride, using another transport mode, or leaving the bicycle at an agreed parking location and collecting it later. Checking weather and road conditions before traveling is part of Oregon’s planning guidance. (oregon.gov)
Treat lightning as a reason to seek shelter, not merely put on rainwear. The National Weather Service advises cyclists to shelter in a safe building when threatening weather approaches and wait 30 minutes after the last thunder before resuming. (weather.gov)
If transit is your alternative, verify:
- Whether bicycles are permitted on the service.
- Any time restrictions or reservation requirements.
- Bicycle size, weight or equipment restrictions.
- How the bicycle is loaded and secured.
- What you will do if bicycle capacity is unavailable.
Do not assume every bicycle fits every service. Oregon’s transport agency notes that some providers cannot accommodate cargo bikes, trailers or other larger cycles and directs riders to check locally. (oregon.gov)
A partial commute is also an option: ride one manageable portion and use another mode for the rest. The League explicitly suggests combining cycling and transit rather than requiring the whole journey at once. (bikeleague.org)
Before your first workday ride, finish this sentence:
“If I cannot ride home, I will ___, and my bicycle will ___.”
Aim for a first commute you can repeat: a route you understand, a schedule based on rehearsal, belongings that stay secure, and an alternative that does not depend on improvisation.