Quick answer
Rebuild basic control away from traffic: check the bicycle, identify its brake controls, then practice starting, slowing and stopping in a straight line. With two hand brakes, apply both smoothly rather than grabbing either lever. Stop the bicycle before putting a foot down. Backpedal—or coaster—brakes need a different pedal routine. Do not practice on a bicycle with unreliable brakes. (nhtsa.gov)
This session is for returning riders who can already balance a conventional pedal bicycle but want to make its basic controls familiar again. If you cannot yet balance independently, use hands-on beginner instruction rather than trying to complete the riding exercises alone. On-bike instruction is also an option for adults rebuilding confidence. (bikeleague.org)
1. Check the bicycle before practicing
Start with the League of American Bicyclists’ ABC Quick Check: air, brakes, chain and cranks, quick releases, and a short functional check. The crank arms are the arms connecting the pedals to the bicycle’s drivetrain. (bikeleague.org)
Work through these checks before mounting:
- Air: Check tire inflation against the instructions applicable to your tires, rims and bicycle. Do not use a universal pressure.
- Brakes: Check for worn pads where visible, and confirm that the brakes operate. Follow the component manual for the relevant inspection.
- Chain and cranks: Look for a dirty or rusty chain and check for looseness in the crank arms.
- Wheel attachment: Confirm that wheels are secured using the instructions for their attachment system. A quick-release lever, axle nut and through-axle are not interchangeable mechanisms.
- Condition: Do not ride with uncertain steering, wheel security or suspected structural damage. Ask a qualified mechanic to assess it.
The ABC checklist is a useful starting point, not proof that an unfamiliar or long-stored bicycle is fit to ride. Its checks should sit alongside the manufacturer’s instructions and the limits described in controlbike.com’s Disclaimer. (bikeleague.org)
Wear a properly fitted cycling helmet. Secure shoelaces and loose trouser legs so they cannot catch in the chain. Use a bicycle that fits: one that is too large can be harder to control. (nhtsa.gov)
2. Choose a level area with generous stopping space
NHTSA recommends beginning in a suitable environment away from traffic, such as a park, path or empty parking lot. For this particular session, choose a level, dry, clear surface with room to continue beyond your intended stopping point. Wet, uneven or debris-covered pavement changes braking behavior. (nhtsa.gov)
Use this practical setup checklist:
- Confirm that cycling is permitted.
- Check that vehicles cannot unexpectedly enter your practice line.
- Avoid busy shared paths, even if they have no motor traffic.
- Walk the area to identify holes, gravel, slippery patches and obstacles.
- Choose a broad stopping area—not a wall, curb or fence as a target.
- Pause whenever another person enters the exercise space.
Set yourself one task: travel along a clear straight line and stop under control. Leave turns, looking behind while moving and signaling for separate practice.
You can use an existing painted line or a small marker placed beside the riding line as a reference. Treat it as a reminder to begin slowing, not a deadline that demands a sudden stop.
3. Identify hand brakes or a coaster brake
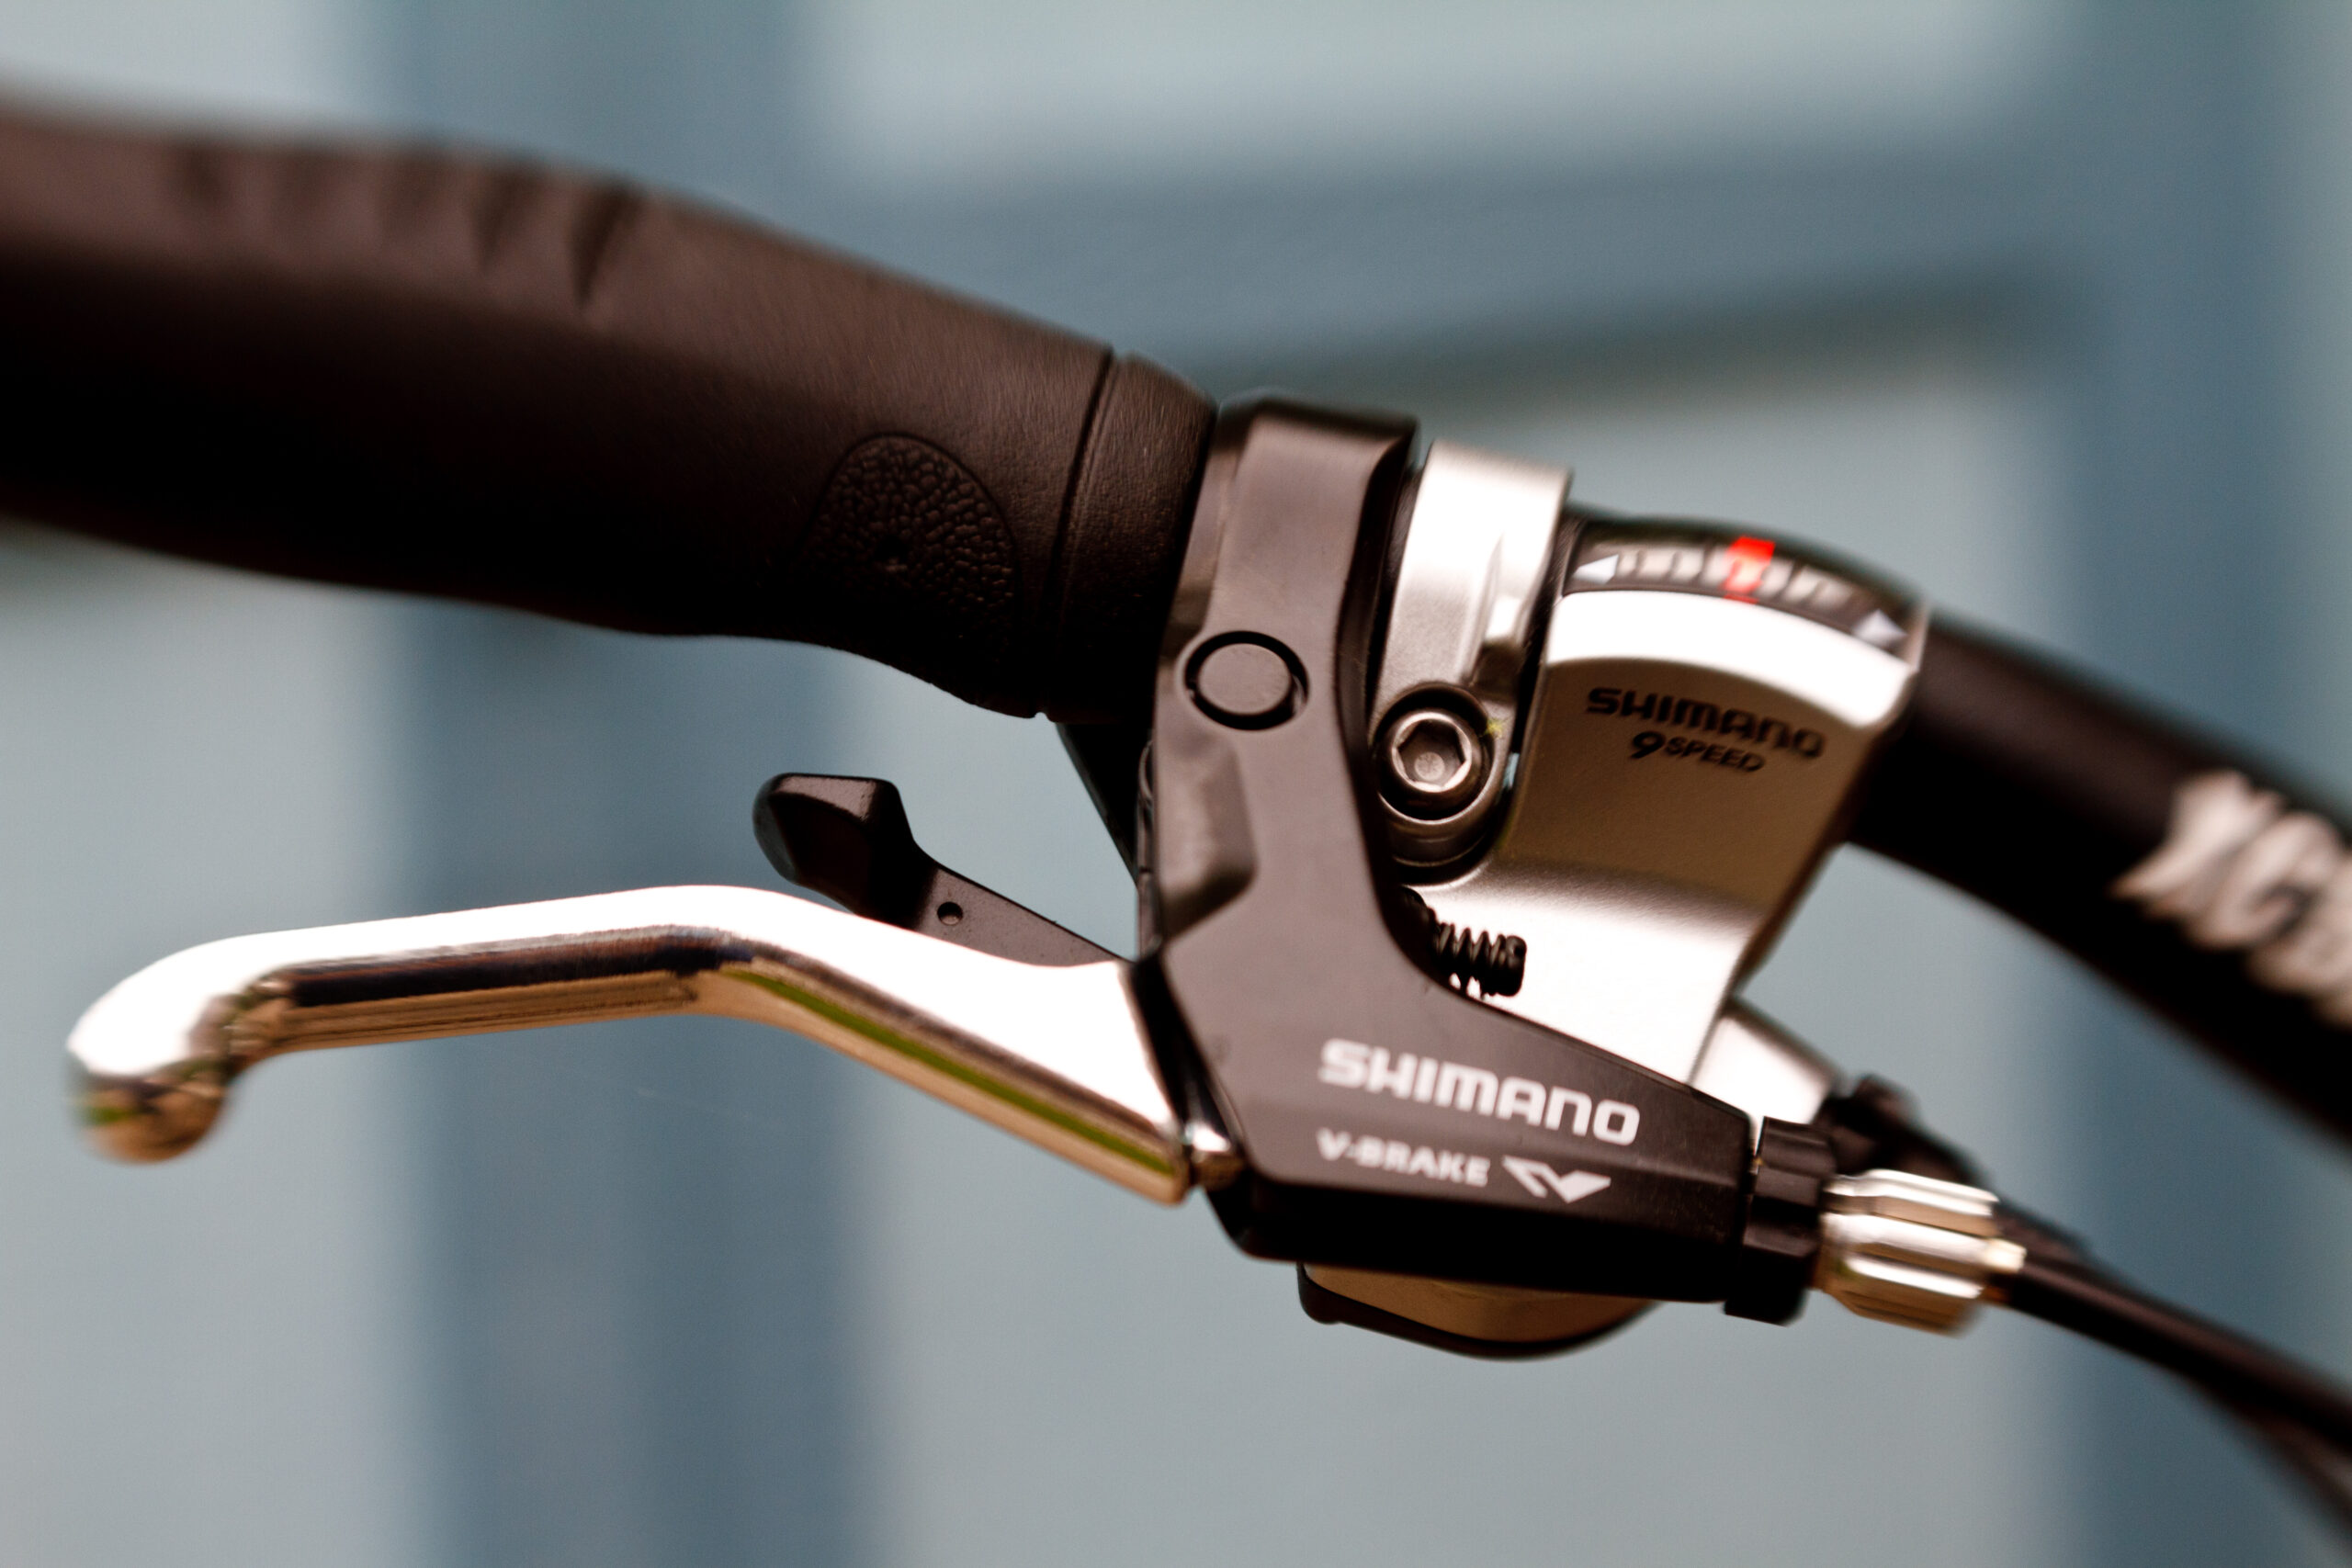
Do not assume that a particular hand operates the front brake. Lever arrangements can differ between bicycles and markets. Identify what each control actually does before riding. (media.trekbikes.com)
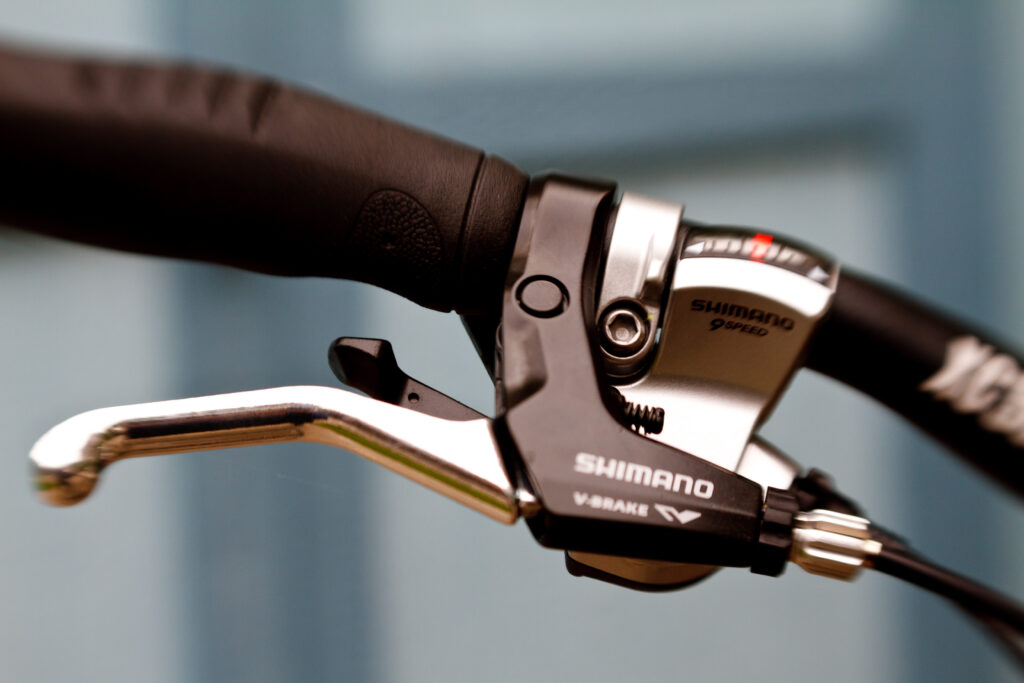
Two hand brakes: While standing beside the bicycle, gently operate one lever at a time and observe which brake responds. Trace its cable or hose if necessary. If the answer remains unclear, ask a mechanic to demonstrate it. Shimano specifically advises riders to learn the braking technique and characteristics of their bicycle. (si.shimano.com)
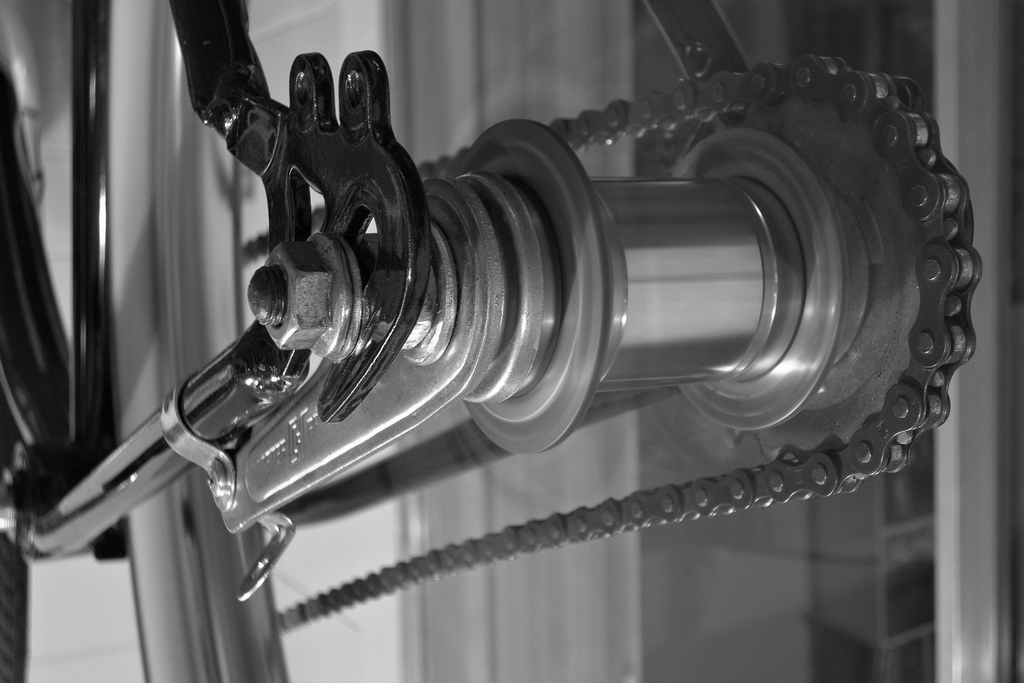
A coaster brake: This applies the brake when you pedal backward. It is not the same as simply stopping your pedaling. Trek explains that some backward crank movement occurs before the brake engages; pedal position therefore matters. (media.trekbikes.com)
A bicycle may combine a coaster brake with a hand-operated brake. Follow its manual for that combination rather than treating the two-hand-brake instructions below as universal.
Also distinguish braking from pedal preparation. On a freewheeling bicycle without a coaster brake, you can normally rotate the pedals backward to position a starting pedal. On a coaster-brake bicycle, that movement applies the brake, making pedal resetting different. Bikeability specifically notes this difficulty. (bikeability.org.uk)
If you cannot comfortably reach and operate the controls, resolve that before riding. Do not improvise brake adjustments without the applicable instructions or mechanical help. (si.shimano.com)

4. Start with a prepared pedal, not a scramble
For a conventional freewheeling bicycle with hand brakes, rehearse this sequence:
- Stand astride the bicycle ahead of the saddle, holding it steady with the brakes.
- Raise your preferred starting pedal into the forward-and-up position, ready for a useful downward stroke.
- Put your starting foot on that pedal while your other foot supports you.
- Look along your intended route and check that the surrounding area is clear.
- Release the brakes, press the raised pedal down, move onto the saddle and bring your other foot to its pedal.
- Continue pedaling while looking where you intend to go.
This combines the League’s starting routine with Bikeability’s guidance on setting the pedal, checking around and releasing the brakes before setting off. (bikeleague.org)
Practice suggestion: Rehearse the stationary setup first. Identify your starting foot, prepare the pedal and look ahead. Only then attempt the moving sequence.
If the first stroke feels excessively hard, use an easier gear appropriate to your bicycle. Bikeability identifies a low gear and releasing the brakes as useful checks when a learner struggles to gain starting momentum. (bikeability.org.uk)
On a coaster-brake bicycle, do not force the pedals backward to find the same starting position. Learn its pedal-setting routine with the manual or an instructor, and keep initial attempts slow and spacious.
5. Brake progressively, then put a foot down
Progressive braking means building brake pressure smoothly, instead of abruptly grabbing a control. For a bicycle with two hand brakes, use both. Shimano warns that excessive front braking can lock the front wheel and cause a forward fall; it also advises earlier, gentler braking in wet conditions. (media.trekbikes.com)
Begin with gentle slowing:
- Pedal along the clear straight line at a modest, comfortable pace.
- Stop pedaling.
- Apply both hand brakes smoothly.
- Notice the bicycle slowing before attempting a complete stop.
Keep early exercises straight. Trek warns that hard braking during a turn can cause a skid; braking before the turn is the better routine to learn. (trekbikes.com)
For a complete stop on a hand-braked bicycle, continue braking, transfer support to the lowered pedal and move forward off the saddle as needed. Put your other foot down once the bicycle has stopped, then keep it held steady. The League teaches moving off the saddle and placing a foot on the ground; Bikeability explicitly separates stopping the cycle from putting the foot down. (bikeleague.org)
On a coaster-brake bicycle, both feet must remain available to operate the pedals during braking. Complete the stop using the bicycle’s intended controls before placing a foot down. Do not substitute dragging a shoe for using the brake.

6. Work through a short start–slow–stop sequence
The following is a suggested practice structure, not a timed course or a test of road readiness. Repeat a stage only while you feel attentive and in control.
| Stage | Task | What to check |
|---|---|---|
| Stationary preparation | Identify controls and prepare to start | Can you explain how your bicycle brakes? |
| First start | Set off along the clear straight line | Can you begin without looking down for the pedal? |
| Gentle slowing | Reduce speed smoothly | Does braking feel predictable rather than abrupt? |
| Complete stop | Stop, then support yourself | Does your foot land after the bicycle stops? |
| Linked repetition | Start, ride, slow, stop and reset | Can you repeat the sequence without rushing? |
These checks turn the educator-taught starting and stopping sequence into separate, manageable tasks. (bikeability.org.uk)
Worked example: stopping beyond your chosen area
Suppose you set off smoothly on a hand-braked bicycle but roll beyond your broad stopping area. There is still clear space ahead, and you stop without a skid.
For the next attempt, keep the task the same but begin slowing earlier. Do not increase speed or make the target smaller. If braking remains smooth, continue practicing the earlier cue. If the brake response is weak, inconsistent or unexpectedly strong, stop the session and arrange a mechanical assessment. Shimano advises stopping use when braking force feels too high or too low. (si.shimano.com)
If the stop succeeds but the next start is awkward, pause and reset rather than immediately launching again. Note whether the difficulty was pedal position, gear choice or holding the brake while trying to move.
7. Correct common mistakes and know when to seek help
Use these distinctions when deciding what to change:
- Looking down for the starting pedal: Rehearse its position while stationary, then practice setting it without looking down. Bikeability includes this exercise in its teaching guidance. (bikeability.org.uk)
- Starting while still braking: Check that you release the brakes as you press the starting pedal. An easier gear may also help. (bikeability.org.uk)
- Grabbing a lever at the last moment: Begin slowing earlier and build pressure smoothly. Do not seek a skid or rear-wheel lift as evidence of good braking. (si.shimano.com)
- Putting a foot down while still rolling: Return to the order “slow, stop, foot down.” (bikeability.org.uk)
- Treating persistent difficulty as a reason to ride faster: Instead, stop and ask for hands-on instruction.
Seek a mechanic for unreliable braking, uncertain wheel attachment, loose steering or suspected damage. Seek a cycling instructor when the bicycle works properly but balancing, starting or supporting yourself at a stop remains difficult. The League provides in-person instruction for adults at different skill levels. (si.shimano.com)
A successful session means you can repeat basic control tasks without rushing—not that you are automatically ready for traffic. NHTSA distinguishes traffic-free practice from learning to navigate and communicate with other road users. Make those skills the next learning step, preferably with on-bike instruction. (nhtsa.gov)