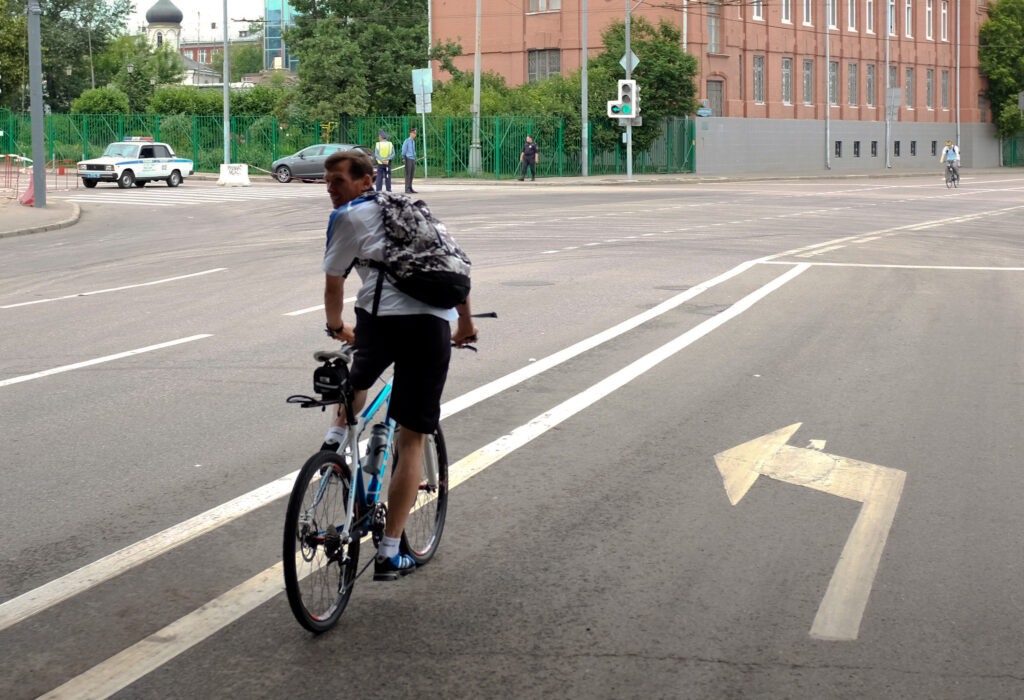
Quick answer: Establish a steady, straight course, keep your grip relaxed and turn your head briefly while keeping your hands steady. Look forward again before making any change of direction. Practice over both shoulders in a traffic-free space, and check that you actually identified something behind you—not merely turned your head. Bikeability recommends learning this skill away from traffic first. (bikeability.org.uk)
A shoulder check is an observation, not a turn. Separate the two actions while learning: first look behind while continuing straight; later, learn how to use that information before changing position.
The exercises below are for a conventional pedal bicycle. They are practice suggestions, not a road-readiness test or a substitute for hands-on instruction.
1. Prepare your bicycle and a traffic-free practice space
Before adding a shoulder check, you should be able to start, ride straight and stop deliberately. If those actions still demand all your attention, practice them separately first. Established cycling guidance treats starting, stopping, straight-line riding and observation as distinct skills to develop. (cascade.org)
Check your bicycle before practicing. The League of American Bicyclists’ ABC Quick Check covers tire air, brakes, chain and cranks, quick-release closures where fitted, and a short check ride. Follow your bicycle’s instructions for its particular wheel attachments; a checklist does not replace an inspection when something seems wrong. (bikeleague.org)
For this exercise, choose:
- A level, open area where motor vehicles cannot enter during practice.
- A firm surface without loose gravel, slippery patches or obvious damage.
- Plenty of clear space beyond the exercise for slowing and stopping.
- Conditions that let you see clearly.
Wear a properly fitted cycling helmet. If steering, braking or wheel security is uncertain, do not use the exercise to investigate the problem: have the bicycle assessed first.
Use chalk or suitable markers to organize the exercise, with permission where necessary. Bikeability’s instructor guidance recommends markings or cones for off-road activities. Keep other people outside your riding path and pause whenever someone enters the practice area. (bikeability.org.uk)
2. Keep your hands steady while your head turns
For an initial brief check, turn your head toward the shoulder you want to look over. Bikeability describes bringing the chin close to the shoulder while leaving the hands, arms and torso in position. The important separation is between looking and steering: your hands should not follow your head. (bikeability.org.uk)
Try this sequence:
- Look ahead and settle your course. Do not begin the check during the push-off.
- Ease unnecessary tension in your grip. Keep control of the bars without clenching them.
- Turn your head briefly. Look for something specific behind you.
- Return your eyes ahead. Continue along the same course.
A relaxed grip and an ahead-looking posture are established straight-line riding cues. Cascade Bicycle Club also recommends brief looks behind, repeated when necessary rather than one prolonged look. (cascade.org)
Keeping the torso still is a starting technique, not a rule that your body must never move. Bikeability describes a fuller observation using shoulder and hip rotation while keeping the hands steady. Learn the brief check first; seek instruction if you cannot obtain a useful view without losing control. Do not force your chin onto your shoulder or strain to imitate a particular posture. (bikeability.org.uk)
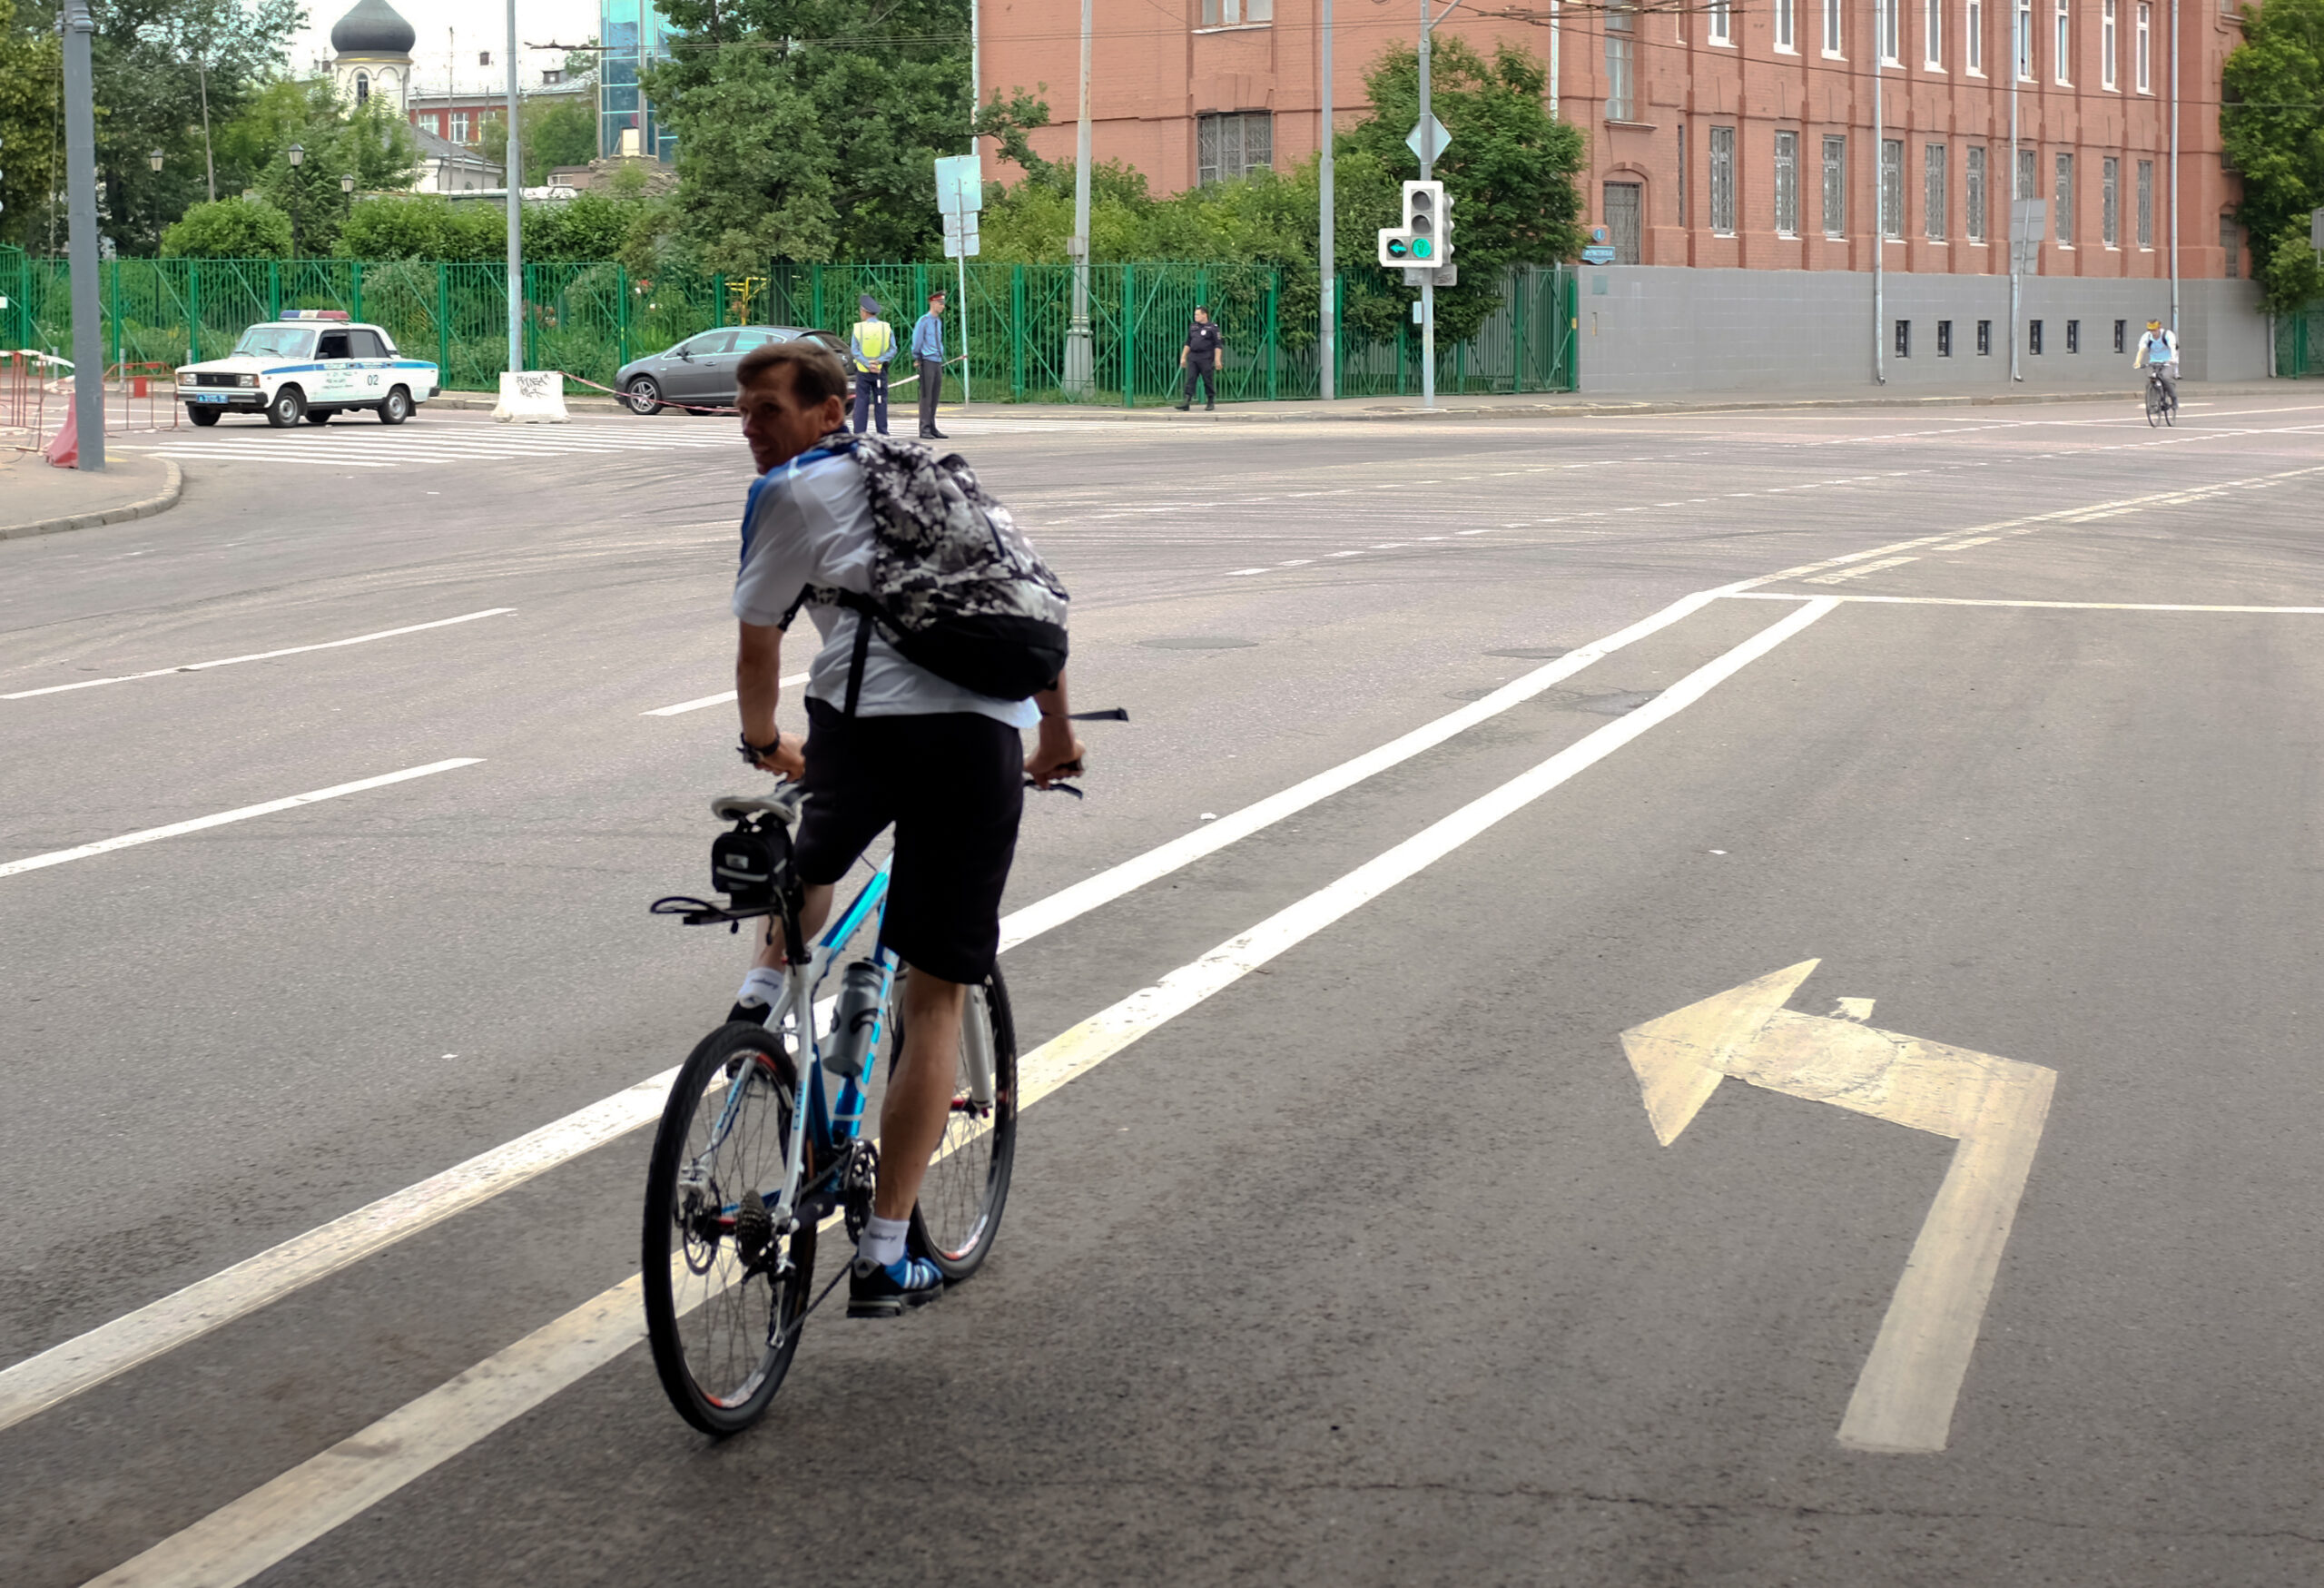

3. Use a marked corridor to spot drifting
For this practice exercise, mark two parallel boundaries to form a broad riding corridor. Leave room outside both boundaries: they are feedback markers, not barriers.
Make the corridor comfortably wide enough for your normal straight-line riding. There is no universal width here and no reason to make the exercise difficult immediately.
Start with a baseline pass:
- Ride through without looking behind.
- Look toward the clear route ahead rather than down at the front tire.
- Maintain a comfortable, steady pace.
- Slow and stop in the clear space beyond the corridor.
Looking ahead and maintaining momentum are recommended control cues. Crawling along at a speed that already makes you wobble adds another challenge; the BC Cycling Coalition notes that riders may wobble at slow speeds. (cascade.org)
Next, add one brief left-shoulder check on a straight pass. On another pass, check right. Do not combine the check with a turn at the end.
Ask a partner to watch whether you move toward a boundary when your head turns. Compare that with your baseline pass. If the movement becomes pronounced, return to ordinary straight riding before trying again.
Practice both sides, even if one feels easier. Both-shoulder observation is part of the skill described by Bikeability and the BC Cycling Coalition. (bikeability.org.uk)
4. Try the raised-hand drill with a partner
A useful check must gather information. BikeReady’s instructor manual uses exercises in which riders look back and identify raised fingers or an object; Bikeability uses similar identification activities. (bikeready.govt.nz)
Here is a simple adaptation for an adult practicing with a partner:
- Agree which shoulder you will check on that pass.
- Have your partner stand near the starting end, outside the corridor.
- Ride away and establish a steady course.
- At an agreed marker, briefly look back. Your partner holds up either their left or right hand.
- Look forward again, continue straight and stop in the clear stopping area.
- Report which hand you saw. Your partner then describes your riding line.
Make sure the raised hand is easy to distinguish. Avoid looking directly into glaring sunlight; BikeReady specifically warns that glare can prevent riders from seeing the information being shown. (bikeready.govt.nz)
Worked example: On a left-shoulder pass, you correctly identify your partner’s right hand, but your partner notices that you move toward the corridor boundary during the check. That attempt gathered information but did not maintain direction.
On the next attempt, keep the task the same and focus on steady hands. If you remain on course but cannot identify the hand, do not count that as a complete success either.
The exercise checks two things together: useful observation and continued control. Repeat on the other side rather than assuming success transfers automatically. (bikeready.govt.nz)
5. Fix common mistakes one at a time
You pull the bars as you look.
Ask your partner whether your hands move with your shoulders. Start again with a relaxed grip and a smaller head turn. Both the League and Cascade describe unintentionally pulling the bicycle while scanning as a problem to address. (bikeleague.org)
You stare behind until you find the answer.
For this drill, return your eyes ahead and reset if you cannot identify the hand promptly. Do not turn an unsuccessful observation into an increasingly long search. Brief, repeated checks are one technique described by Cascade. (cascade.org)
You watch the front wheel to check your line.
Let your partner observe the line. Keep your attention on the route ahead between shoulder checks, rather than inspecting the tire while moving. (cascade.org)
You combine too many unfamiliar actions.
Do not add signaling, turning and looking behind simultaneously at the beginning. Bikeability’s activity guidance distinguishes these skills before combining them into a look, signal and final-check routine. (bikeability.org.uk)
You remove a hand before you can ride one-handed.
The League suggests releasing the hand on the scanning side as an option to reduce pulling. That is not a compulsory beginner technique. Keep both hands on for the initial exercise; consider alternatives with an instructor after developing controlled one-handed riding. (bikeleague.org)
6. Use a mirror as an observation aid, not proof that the way is clear
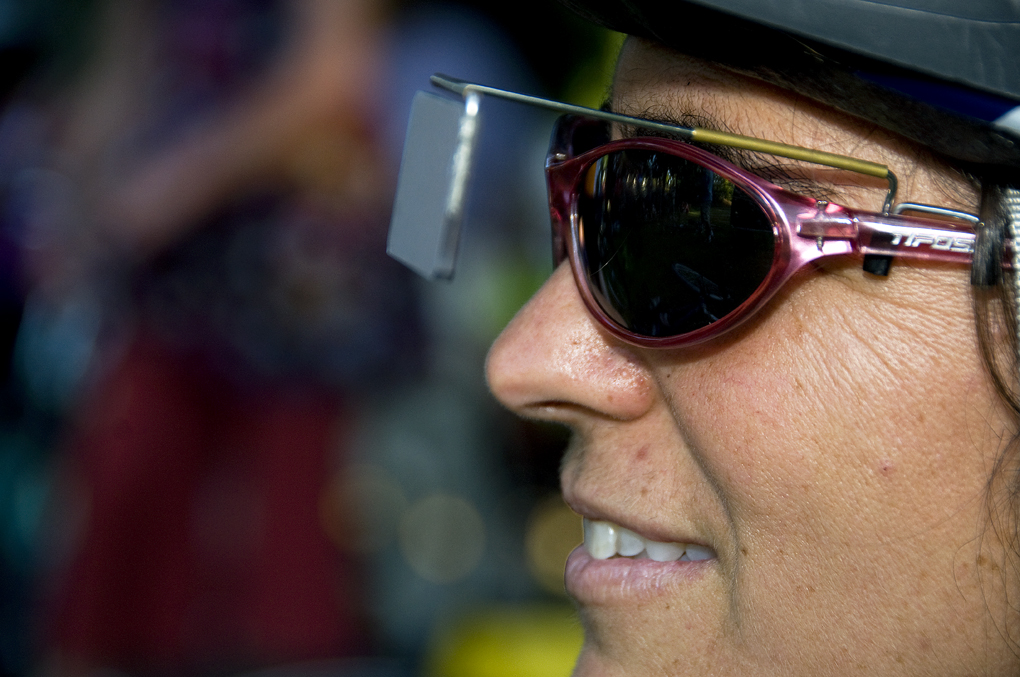
A bicycle mirror can help you see behind, particularly when turning your head or body is difficult. Bikeability’s inclusive-training guidance allows mirrors in some circumstances but explicitly warns that riders must understand blind spots. (bikeability.org.uk)
A practical way to explore your mirror’s coverage is to check it while stationary:
- Hold or support the bicycle securely in your normal riding position.
- Ask your partner to stand behind and then move gradually to either side.
- Notice where they appear in the mirror and where they disappear.
- Check whether your arm, clothing or luggage obscures the view.
This is a suggested familiarization exercise, not a certification of the mirror’s coverage. Repeat it if you change its position or your riding setup.
An empty mirror image means only that you cannot see anyone within that image. It does not establish that every relevant area behind or alongside you is clear. That is the practical implication of the blind-spot warning. (bikeability.org.uk)
If restricted movement prevents a reliable shoulder check, seek individualized cycle instruction rather than forcing the movement or assuming a mirror solves every observation problem.

7. Progress gradually—but do not treat the drill as traffic clearance
Continue practicing until you can look over either shoulder, identify information and maintain direction repeatedly—not just on one fortunate pass. BikeReady recommends progressive teaching and additional practice when looking behind disrupts straight-line riding. (bikeready.govt.nz)
Then develop the related skills separately: controlled signaling, deliberate changes of direction and observation before changing position. Bikeability teaches a routine of looking back, communicating an intended movement and checking again before turning or changing position. (bikeability.org.uk)
Passing the raised-hand drill does not establish readiness to ride in traffic. It does not test how you judge approaching vehicles, choose a road position, negotiate junctions or respond to changing hazards. BikeReady distinguishes basic control and observation outcomes from subsequent on-road training. (bikeready.govt.nz)
If you repeatedly drift, cannot obtain a useful view or feel unable to divide your attention, stay in the traffic-free setting and seek hands-on instruction.
The goal is simple: look behind, understand what you saw and continue controlling the bicycle. A successful check gathers information without turning into an unintended change of direction.