What should you check before every bicycle ride?
Check tire condition and pressure, both brakes, the chain and cranks, steering, and wheel attachment. The League of American Bicyclists calls its routine the ABC Quick Check: Air, Brakes, Chain and Cranks, Quick Release, then a brief functional check. Do not ride if braking, steering or wheel security is uncertain, or structural damage is suspected. Correct the problem using the applicable manufacturer’s instructions or ask a qualified bicycle mechanic. A checklist is not a guarantee of safety. (bikeleague.org)
1. Set up a repeatable check—not a repair session
Put the bicycle on level ground away from traffic. Have a pump with a pressure gauge available, along with the instructions for your bicycle and any unfamiliar components. Complete the stationary checks before considering a short test ride. Trek’s owner’s manual explicitly says that a failed pre-ride check should be resolved before riding. (media.trekbikes.com)
Use the same order each time:
- Air: inspect both tires and check inflation.
- Brakes: check condition and operation.
- Chain and cranks: look for damage, looseness and abnormal operation.
- Quick: verify wheel retention and any relevant quick-release clamps.
- Check: confirm that the bicycle functions properly on a slow, brief ride—but only after the earlier checks pass. (bikeleague.org)
Add steering and saddle security to that routine. These are included in the bicycle checks published by NHTSA and Trek, even though they do not have their own letters in “ABC.” (nhtsa.gov)
Your task is to notice problems and decide what happens next. You do not need to diagnose every fault before deciding to leave the bicycle parked.
2. Inspect both tires and check pressure with a gauge
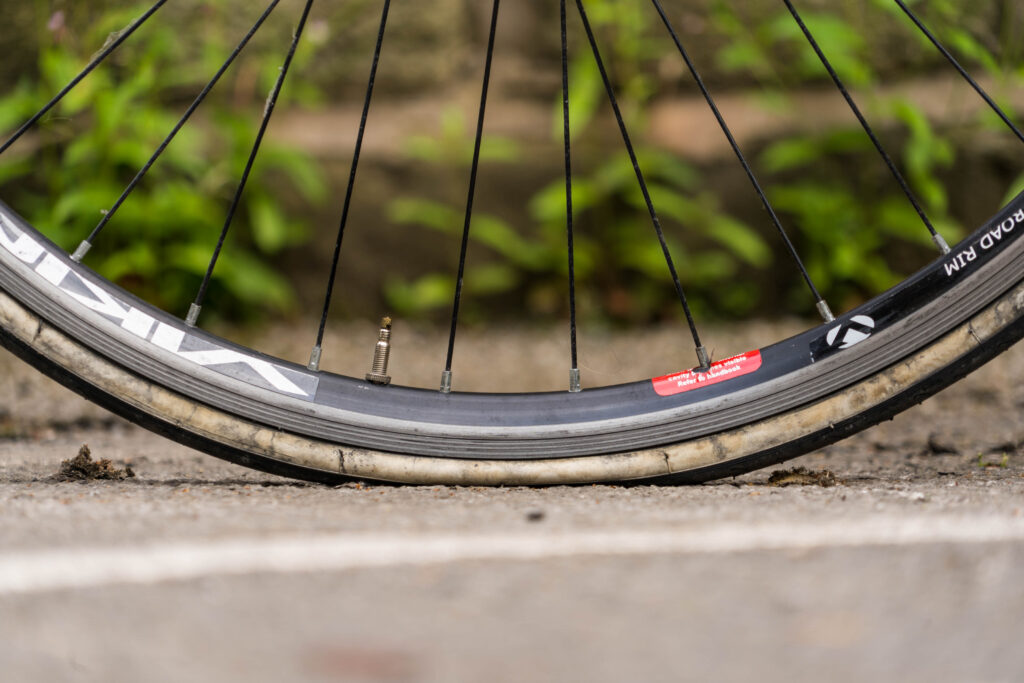
Look around the full circumference of each tire, including the tread—the surface that meets the ground—and both sidewalls. Check for worn areas, damage and embedded foreign objects. Schwalbe advises regular inspection and timely replacement of worn tires. Exposed casing threads or the puncture-protection layer showing through the tread mean the tire needs replacement. (schwalbe.com)
Then check inflation with a gauge rather than relying only on a squeeze. Follow the applicable tire and wheel instructions. The tire’s pressure marking does not override a lower rim limit: Trek specifies that you must not exceed the lower of the tire and rim pressure limits. There is no single pressure suitable for every bicycle. (schwalbe.com)
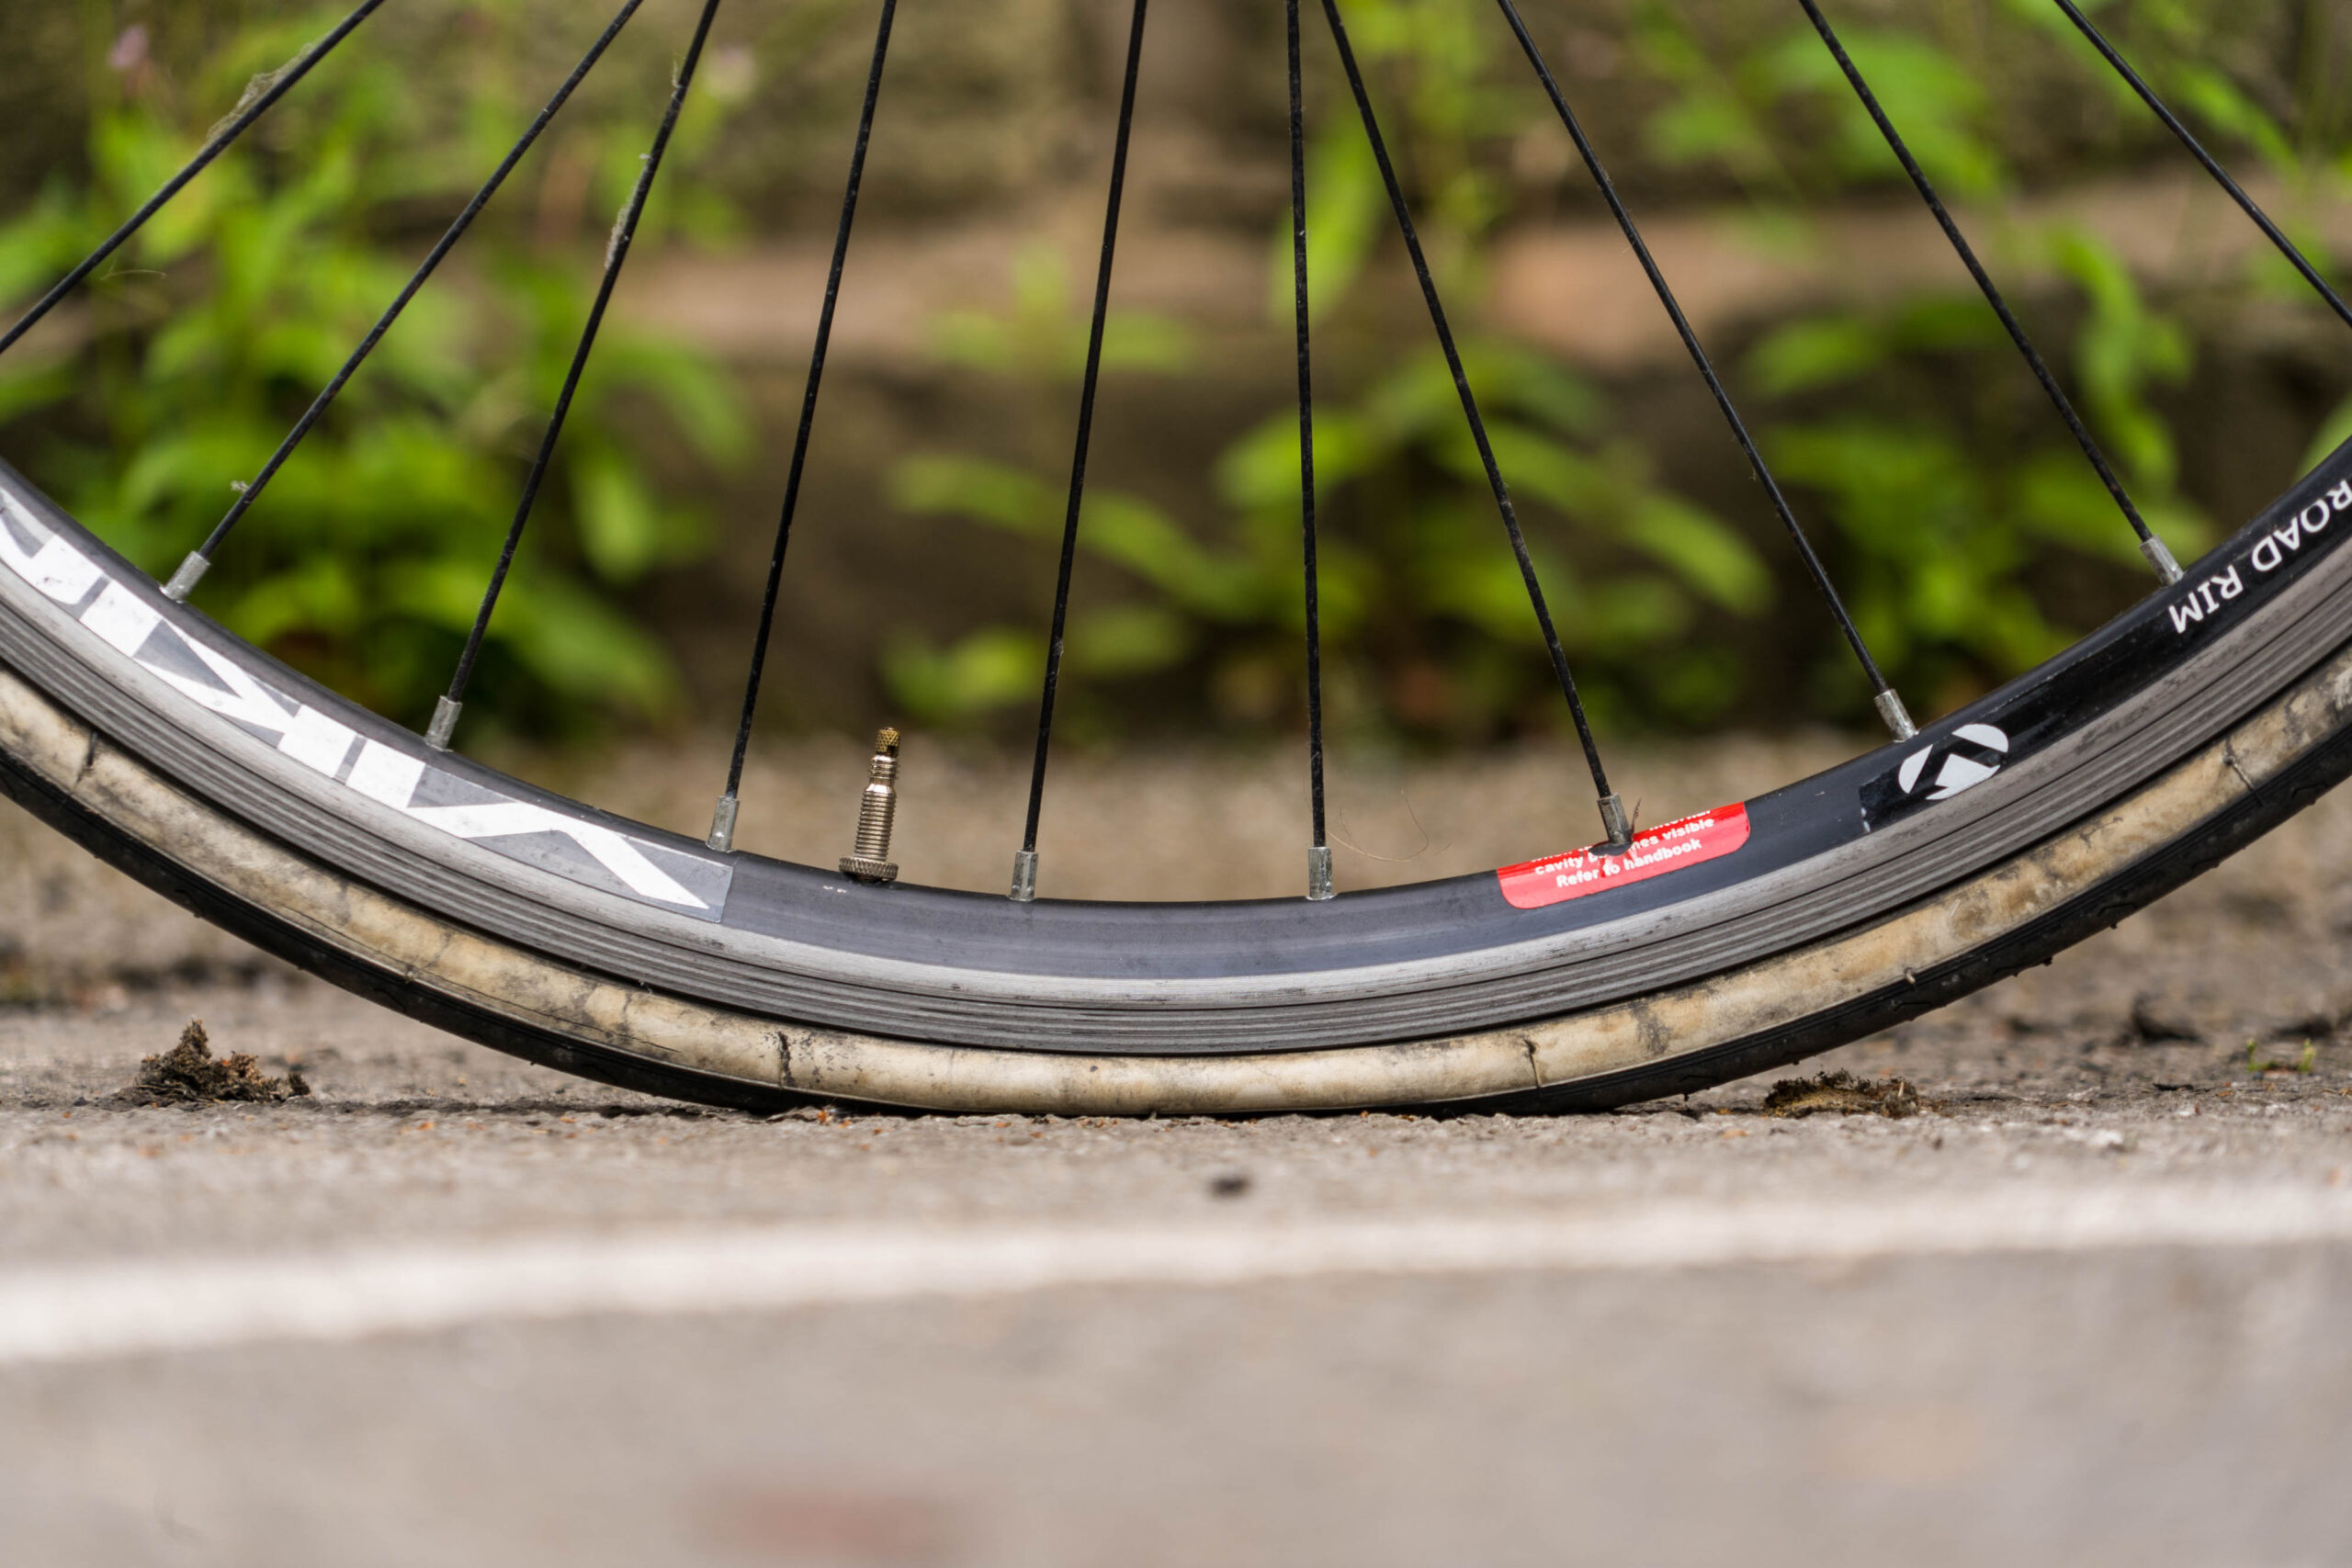
Also look at how the tire sits on the rim. Where a molded reference line is provided near the tire’s edge, it should run evenly beside the rim all the way around. An unevenly seated tire needs attention before riding; do not try to correct it by blindly adding more air. (schwalbe.com)
Do not ride yet if:
- Casing threads are visible through the tread.
- A cut goes through the tire casing.
- The tire is visibly unseated.
- You cannot establish an appropriate pressure within the applicable equipment limits. (schwalbe.com)
Common mistake: treating a tire that holds air as a tire that has passed inspection. Inflation and condition are separate checks; a worn tire can still be inflated. (schwalbe.com)

3. Test each brake and inspect the parts you can see
For hand-operated brakes, squeeze each lever separately while stationary. The lever should not reach the handlebar when the brake is applied. With the bicycle securely supported, lift and spin one wheel at a time, then operate that wheel’s brake to confirm it stops. Keep hands clear of spokes and moving brake parts. NHTSA includes these checks in its ABC Quick Check guidance. (nhtsa.gov)
Inspect according to the brake type:
- Rim brakes: the pads should be clean, straight and contact the rim properly—not the tire.
- Disc brakes: look for obvious rotor damage and signs of contamination. Use the exact brake manual to check pad and rotor wear limits; do not assume another brake’s measurements apply.
- Coaster brakes: these operate by pedaling backward. Confirm that the rear brake engages and stops the rear wheel. (nhtsa.gov)
For hydraulic disc brakes, visible fluid leakage is a stop-use sign. Shimano also warns against riding with oil or grease on the pads or rotor, or with a cracked or deformed rotor. Keep chain lubricant away from braking surfaces. (si.shimano.com)
Do not ride if a brake fails to stop its wheel, a lever reaches the handlebar, or there is leakage or suspected brake damage. Do not substitute a road test for resolving a failed stationary check. (nhtsa.gov)
Practical limit: this check confirms basic operation, not every aspect of brake condition. If you cannot see or assess wear correctly, ask a mechanic rather than guessing.
4. Check the chain, cranks and pedals without forcing them
The cranks are the arms connecting the pedals to the bicycle. The drivetrain includes the parts that transfer pedaling effort to the rear wheel.
Look at the chain for rust, kinks or broken parts. Check that it is correctly positioned rather than hanging off a chainring or sprocket. Trek’s checklist calls for inspection of chain condition and appropriate tension, with professional help if the correct tension is uncertain. Do not apply a single chain-slack measurement to every drivetrain. (media.trekbikes.com)
Gently try to move the crank arms sideways. NHTSA’s check says they should not have side-to-side looseness. Inspect the arms for cracks, too: Shimano’s crankset manual specifically requires this before riding. (nhtsa.gov)
If you can support the bicycle securely with the rear wheel raised, turn the cranks forward and watch the chain drive the wheel. Keep fingers, clothing and loose items away from the chain and teeth. Where gears are fitted, check for smooth shifting without forcing the controls. Shimano lists smooth pedaling, smooth shifting, secure components and absence of abnormal noise among its pre-ride checks. (nhtsa.gov)
Check each pedal for looseness and free rotation. Stop if a crank is cracked, parts feel loose, or pedaling produces an unexplained grinding or abnormal noise. (media.trekbikes.com)
Common mistake: assuming lubricant fixes every drivetrain problem. Cleaning and lubrication are maintenance tasks; cracks and loose components require assessment, not a coating of oil. (si.shimano.com)
5. Confirm wheel attachment—closed-looking is not enough
Inspect both wheel attachments, particularly after a wheel has been removed. The axle should be properly seated, and the attachment should be secured according to its manufacturer’s instructions. A wheel that moves in its attachment has failed the check. (media.trekbikes.com)
Identify the system before attempting an adjustment:
- Traditional quick-release: a lever-operated clamping mechanism. Shimano explains that closing the lever creates the clamping force; the adjusting nut sets that force. A lever merely resting beside the fork is not proof of correct adjustment.
- Thru-axle: an axle passing through the hub and secured into the frame or fork. Follow its specific installation and torque instructions.
- Bolt-on wheel: axle nuts retain the wheel. Check seating and any required washers against the applicable instructions. (bike.shimano.com)
For the Shimano quick-release systems covered by its guidance, the lever must fully reach the closed position without interference from the fork or brake rotor. Shimano says to operate the lever by hand, not with a hammer or another tool. Those instructions should not be treated as a substitute for a different axle system’s manual. (bike.shimano.com)
Spin each wheel and watch for damage or obvious wobble. It should run through the frame or fork without unwanted contact. Do not ride with a loose attachment, damaged wheel or unexplained movement. (media.trekbikes.com)
Do not remove retention tabs or add improvised washers to make an attachment “work.” Trek warns that such modifications can compromise wheel retention. (trekbikes.com)
6. Check steering, saddle and loose accessories
With the front wheel pointing straight ahead, check that the handlebar is aligned. Gently check that it does not rotate in the stem—the part connecting the bar to the steering assembly. Turn the bar from side to side and watch for cables being caught or pulled tight. The saddle should not twist, tilt or move unexpectedly either. (media.trekbikes.com)
Check that grips and handlebar-end plugs are secure. Loose grips or unsecured extensions can affect control, and open handlebar ends present an injury hazard in a crash. (media.trekbikes.com)
Look at bags, lights, racks and their straps or wires. Secure loose items and keep them clear of moving parts. Trek warns that an accessory falling into the front wheel can cause an abrupt stop. (trekbikes.com)
Stop rather than tightening at random. A movement check can reveal a problem, but it does not establish the correct bolt torque. Torque settings and adjustment procedures depend on the component; unfamiliar steering work belongs with a qualified mechanic. (media.trekbikes.com)
Common mistake: checking that an accessory is present but not checking its attachment. Include the mounting and any loose cable or strap—not just the light or bag itself. (trekbikes.com)
7. Make the ride-or-stop decision, then perform the final check
Here are two hypothetical examples of using the checklist:
Example A: an inflated but worn tire. The pressure is appropriate, but you see casing threads through the tread. The tire fails the condition check. Replace it before riding; topping up the air does not change that decision. (schwalbe.com)
Example B: a wheel that shifts in its attachment. You notice movement even though the quick-release lever appears closed. Do not ride to see whether it settles. Verify the exact retention instructions or have a mechanic correct the problem before using the bicycle. (media.trekbikes.com)
When every stationary check passes, make a slow, brief functional check in a level area away from traffic. Confirm that steering, pedaling, shifting and stopping behave normally. Apply brakes progressively rather than grabbing the front brake suddenly. Stop immediately if something feels wrong. (bikeleague.org)
Remember the limits: after a crash or impact, damage may not be readily visible. Trek calls for a thorough bicycle-shop inspection before riding again. A normal-looking bicycle and a successful short ride do not rule out hidden damage. (media.trekbikes.com)
Takeaway: use the checklist to find reasons to pause—not to explain them away. If you cannot confidently resolve a failed check using the correct instructions, leave the bicycle parked and seek qualified help.