Quick answer
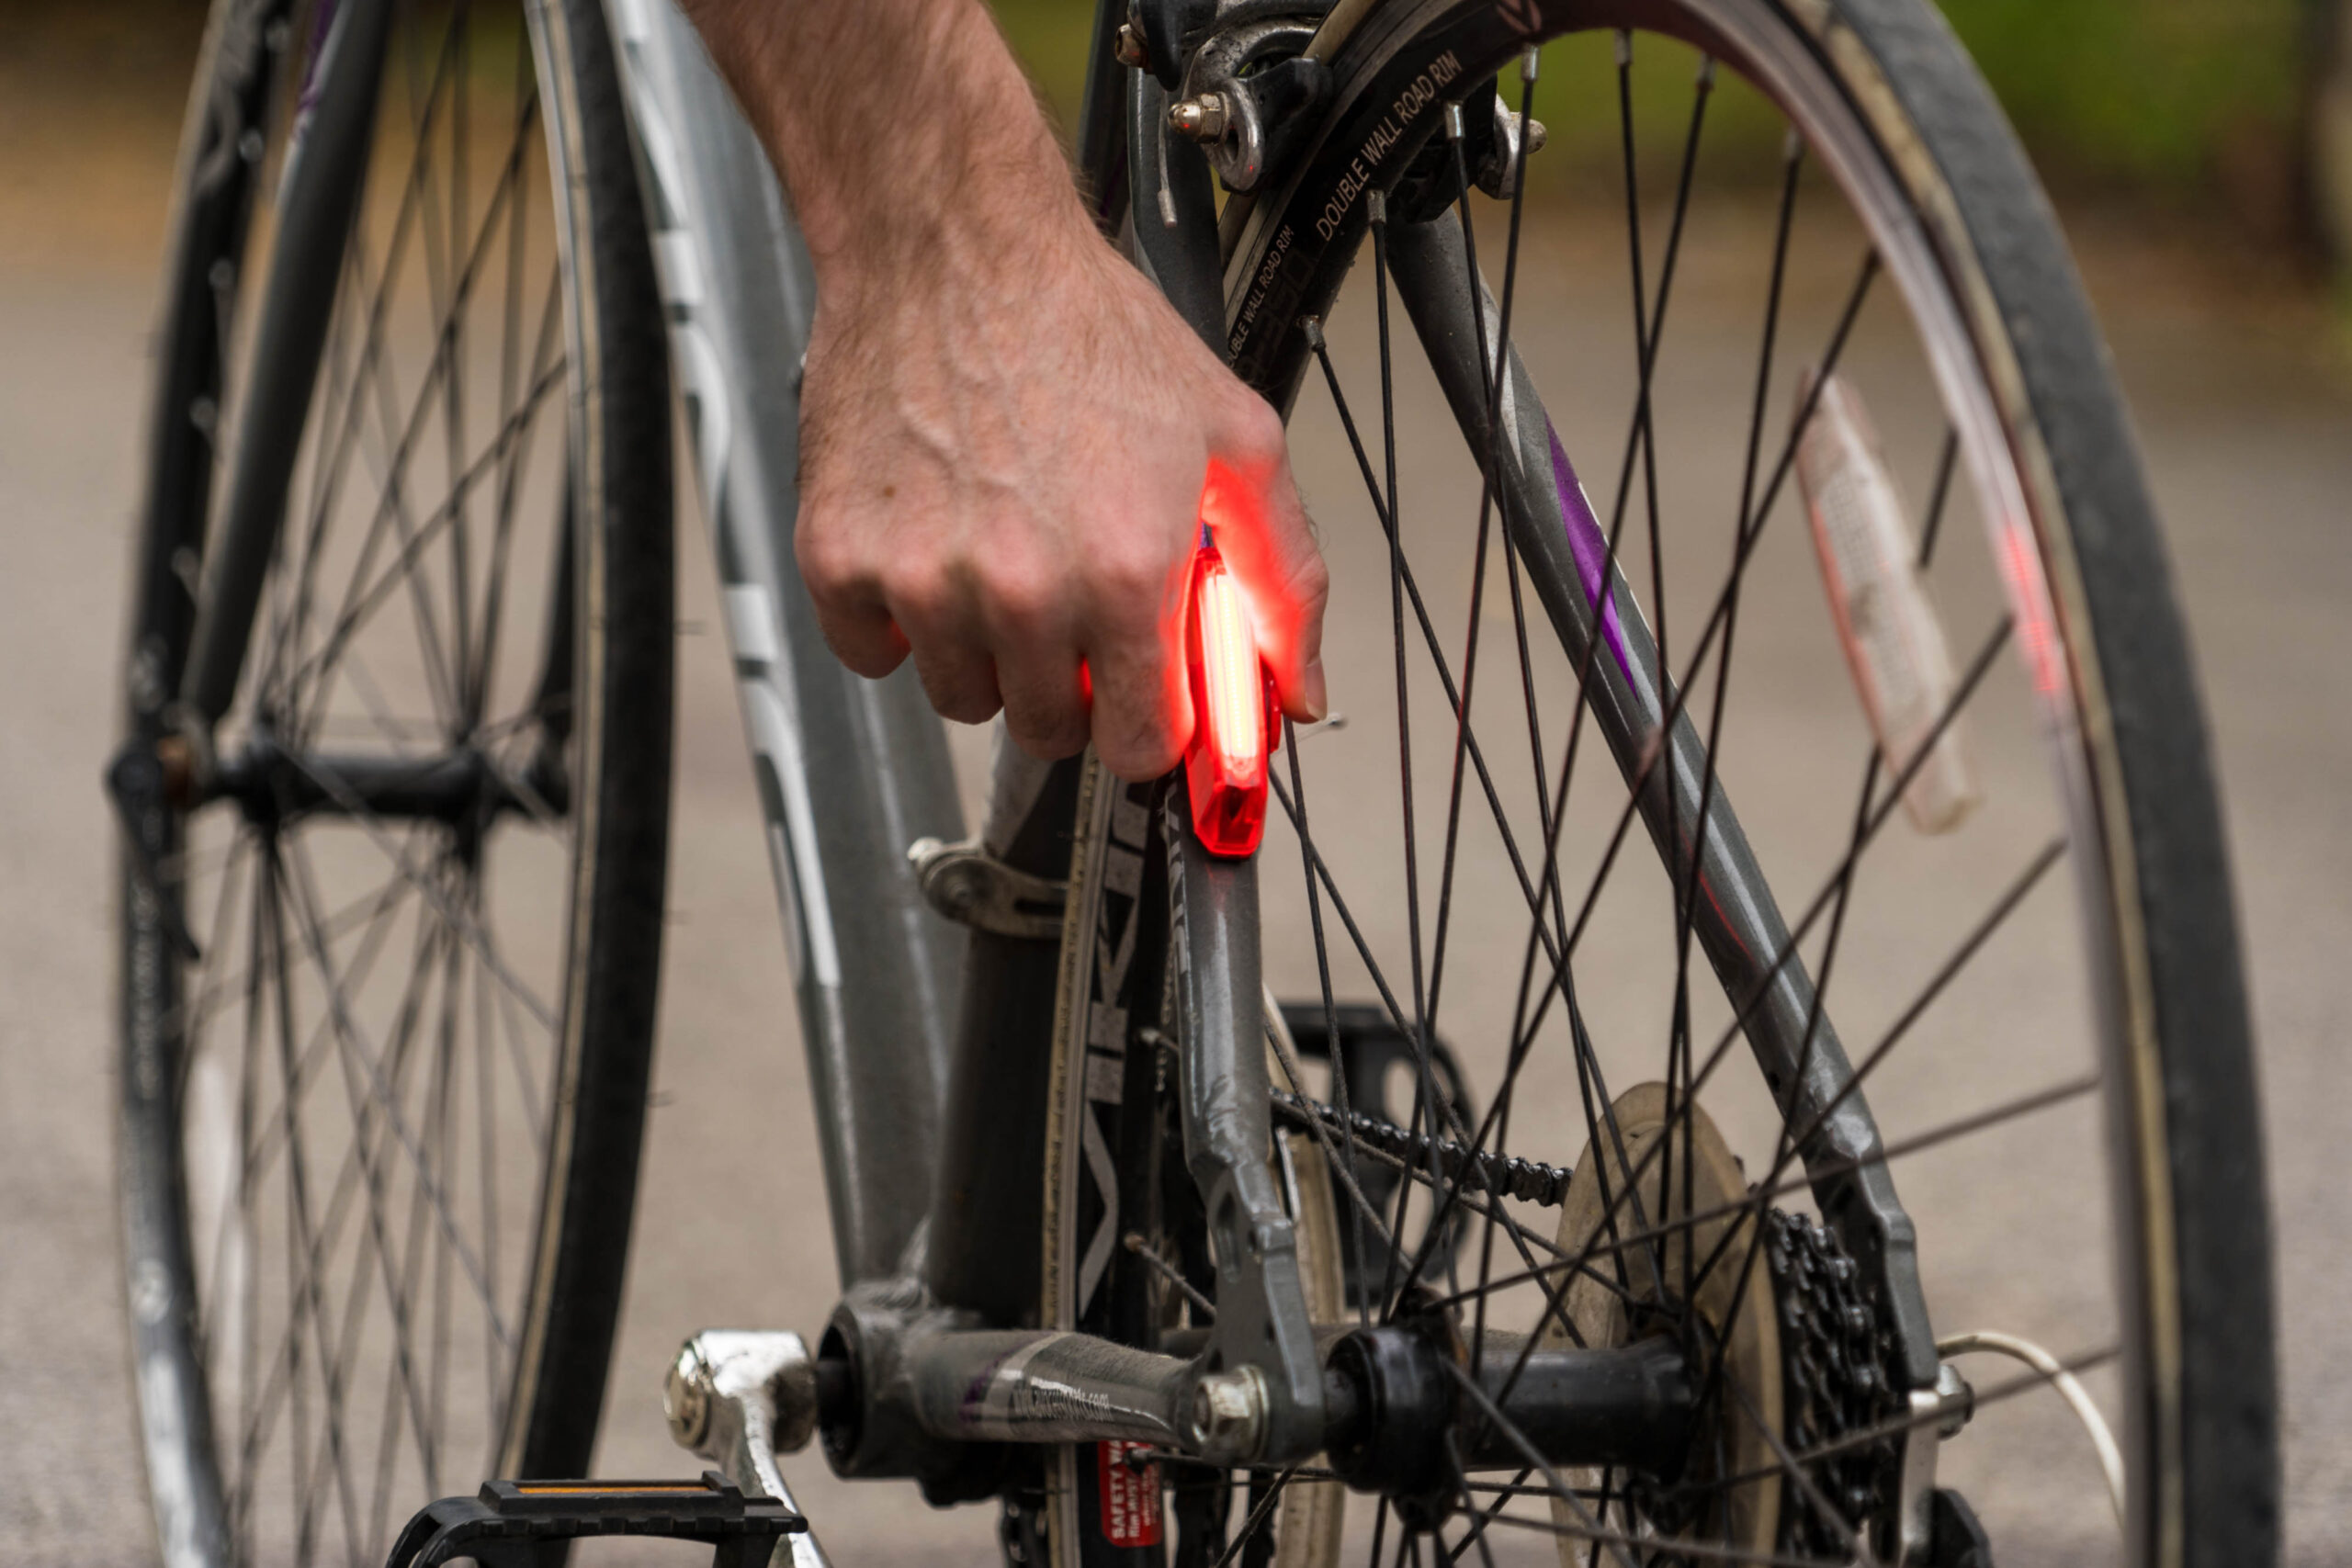
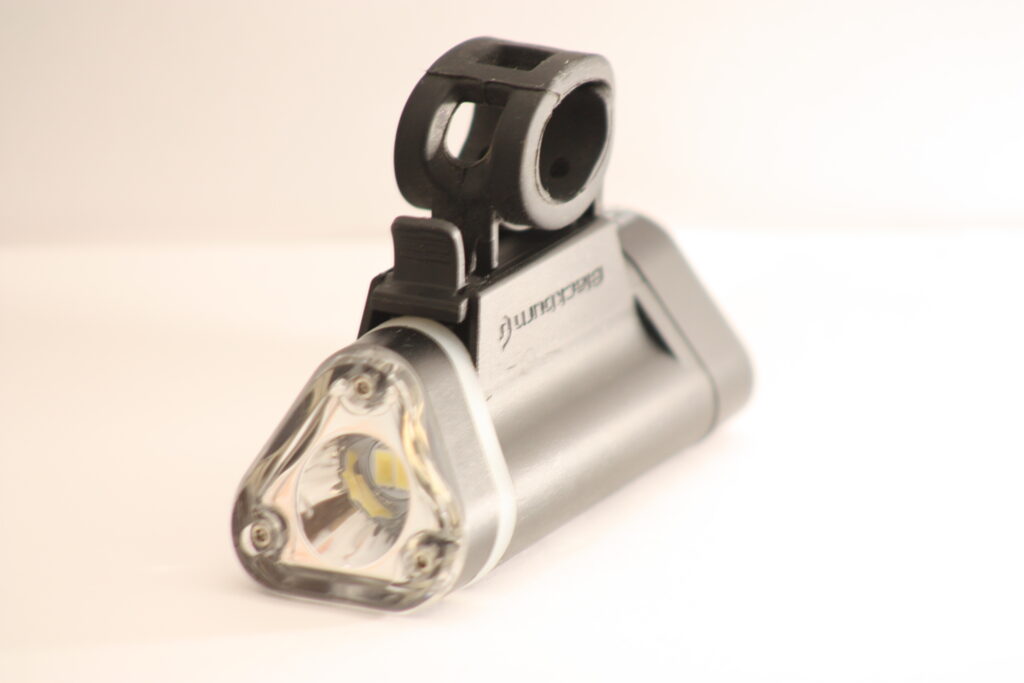
Choose lights for the darkest part of your route, not simply the highest lumen number. On well-lit streets, visibility from different directions matters; on unlit roads or paths, your front light must also illuminate the surface far enough ahead for you to stop. Use a white front light, a red rear light and the required reflectors. Check runtime in your intended mode, secure mounting and local rules before buying. (cyclinguk.org)
1. Start with your route, not a brightness target
A front light has two jobs: helping other people notice you and helping you see where you are going. A small visibility light may perform the first job without providing a useful road-lighting beam. Cycling UK distinguishes street-lit riding from routes where the bicycle’s own light must reveal the surface ahead. (cyclinguk.org)
Before comparing lights, write down:
- Whether any part of your usual route is unlit.
- How long you need the lights between charging opportunities.
- Whether you carry a basket, handlebar bag, saddlebag or rack luggage.
- Whether your route includes shared paths and frequent junctions.
- Whether delays could leave you riding after dark.
Treat the darkest section as the deciding condition. A mostly illuminated commute still needs a road-lighting front lamp if it includes an unlit stretch. Ride at a speed that lets you stop within the distance you can clearly see; a brighter light is not permission to outrun that distance. (cyclinguk.org)
For beginners, it helps to separate two questions: Can others see my lights? and Can I recognize the surface ahead? Check both rather than assuming one answers the other.
2. Look beyond lumens to the beam on the road
Lumens describe visible-light output. Lux describes how much light reaches a surface at a particular location. Lux comparisons therefore need a stated measurement distance or other comparable conditions. Neither number, by itself, describes the whole illuminated area. (help.lumecube.com)
A useful front beam needs distribution as well as brightness. Busch + Müller specifically warns that a high lux reading at one point does not establish useful, even illumination across the road. (bumm.de)
For an unlit route, look for evidence of:
- Near-field coverage: illumination of the surface relatively close to the bicycle.
- Reach: enough light ahead to recognize hazards before reaching them.
- Width: coverage beyond a narrow central spot.
- Glare control: a beam that can illuminate the route without dazzling approaching people.
A road-oriented cut-off beam has a defined upper boundary. It can help control upward light, but it still needs correct mounting and adjustment. Cycling UK recommends considering a cut-off or an easily selected lower setting when choosing brighter lights for unlit roads. (cyclinguk.org)
Ask for a beam diagram or comparable beam photographs, not just a maximum-output figure. If the manufacturer provides no useful beam evidence, plainly treat road illumination as an unknown. More lumens alone cannot establish that one light gives better coverage—or that another road user will notice it sooner.

3. Choose modes for darkness, not just attention
For seeing the road, choose a steady front beam. Flashing front lights provide little useful continuous illumination and bright flashes can distract other road users. Cycling UK also recommends a steady rear light, either alone or alongside flashing, when riding without streetlights. (cyclinguk.org)
That does not mean every flashing mode is unsuitable. A visibility mode may have a role where permitted, particularly under streetlights. The important distinction is between attracting attention and continuously showing the route or your position. (cyclinguk.org)
Check how the controls work before buying:
- Can you identify the current mode easily?
- Can you select the steady setting without cycling through numerous flashes?
- Does the light remember its previous mode?
- Can you operate the button with your usual gloves?
Do not assume the brightest daytime mode is appropriate after dark. Evaluate glare from the perspective of approaching cyclists and pedestrians, and use the manufacturer’s adjustment instructions. CatEye’s AMPP500 manual, for example, explicitly directs users to aim the beam downward to avoid dazzling others. (cateye.com)
If changing a setting would distract you, stop somewhere suitable first.
4. Check mounting with your bicycle fully loaded
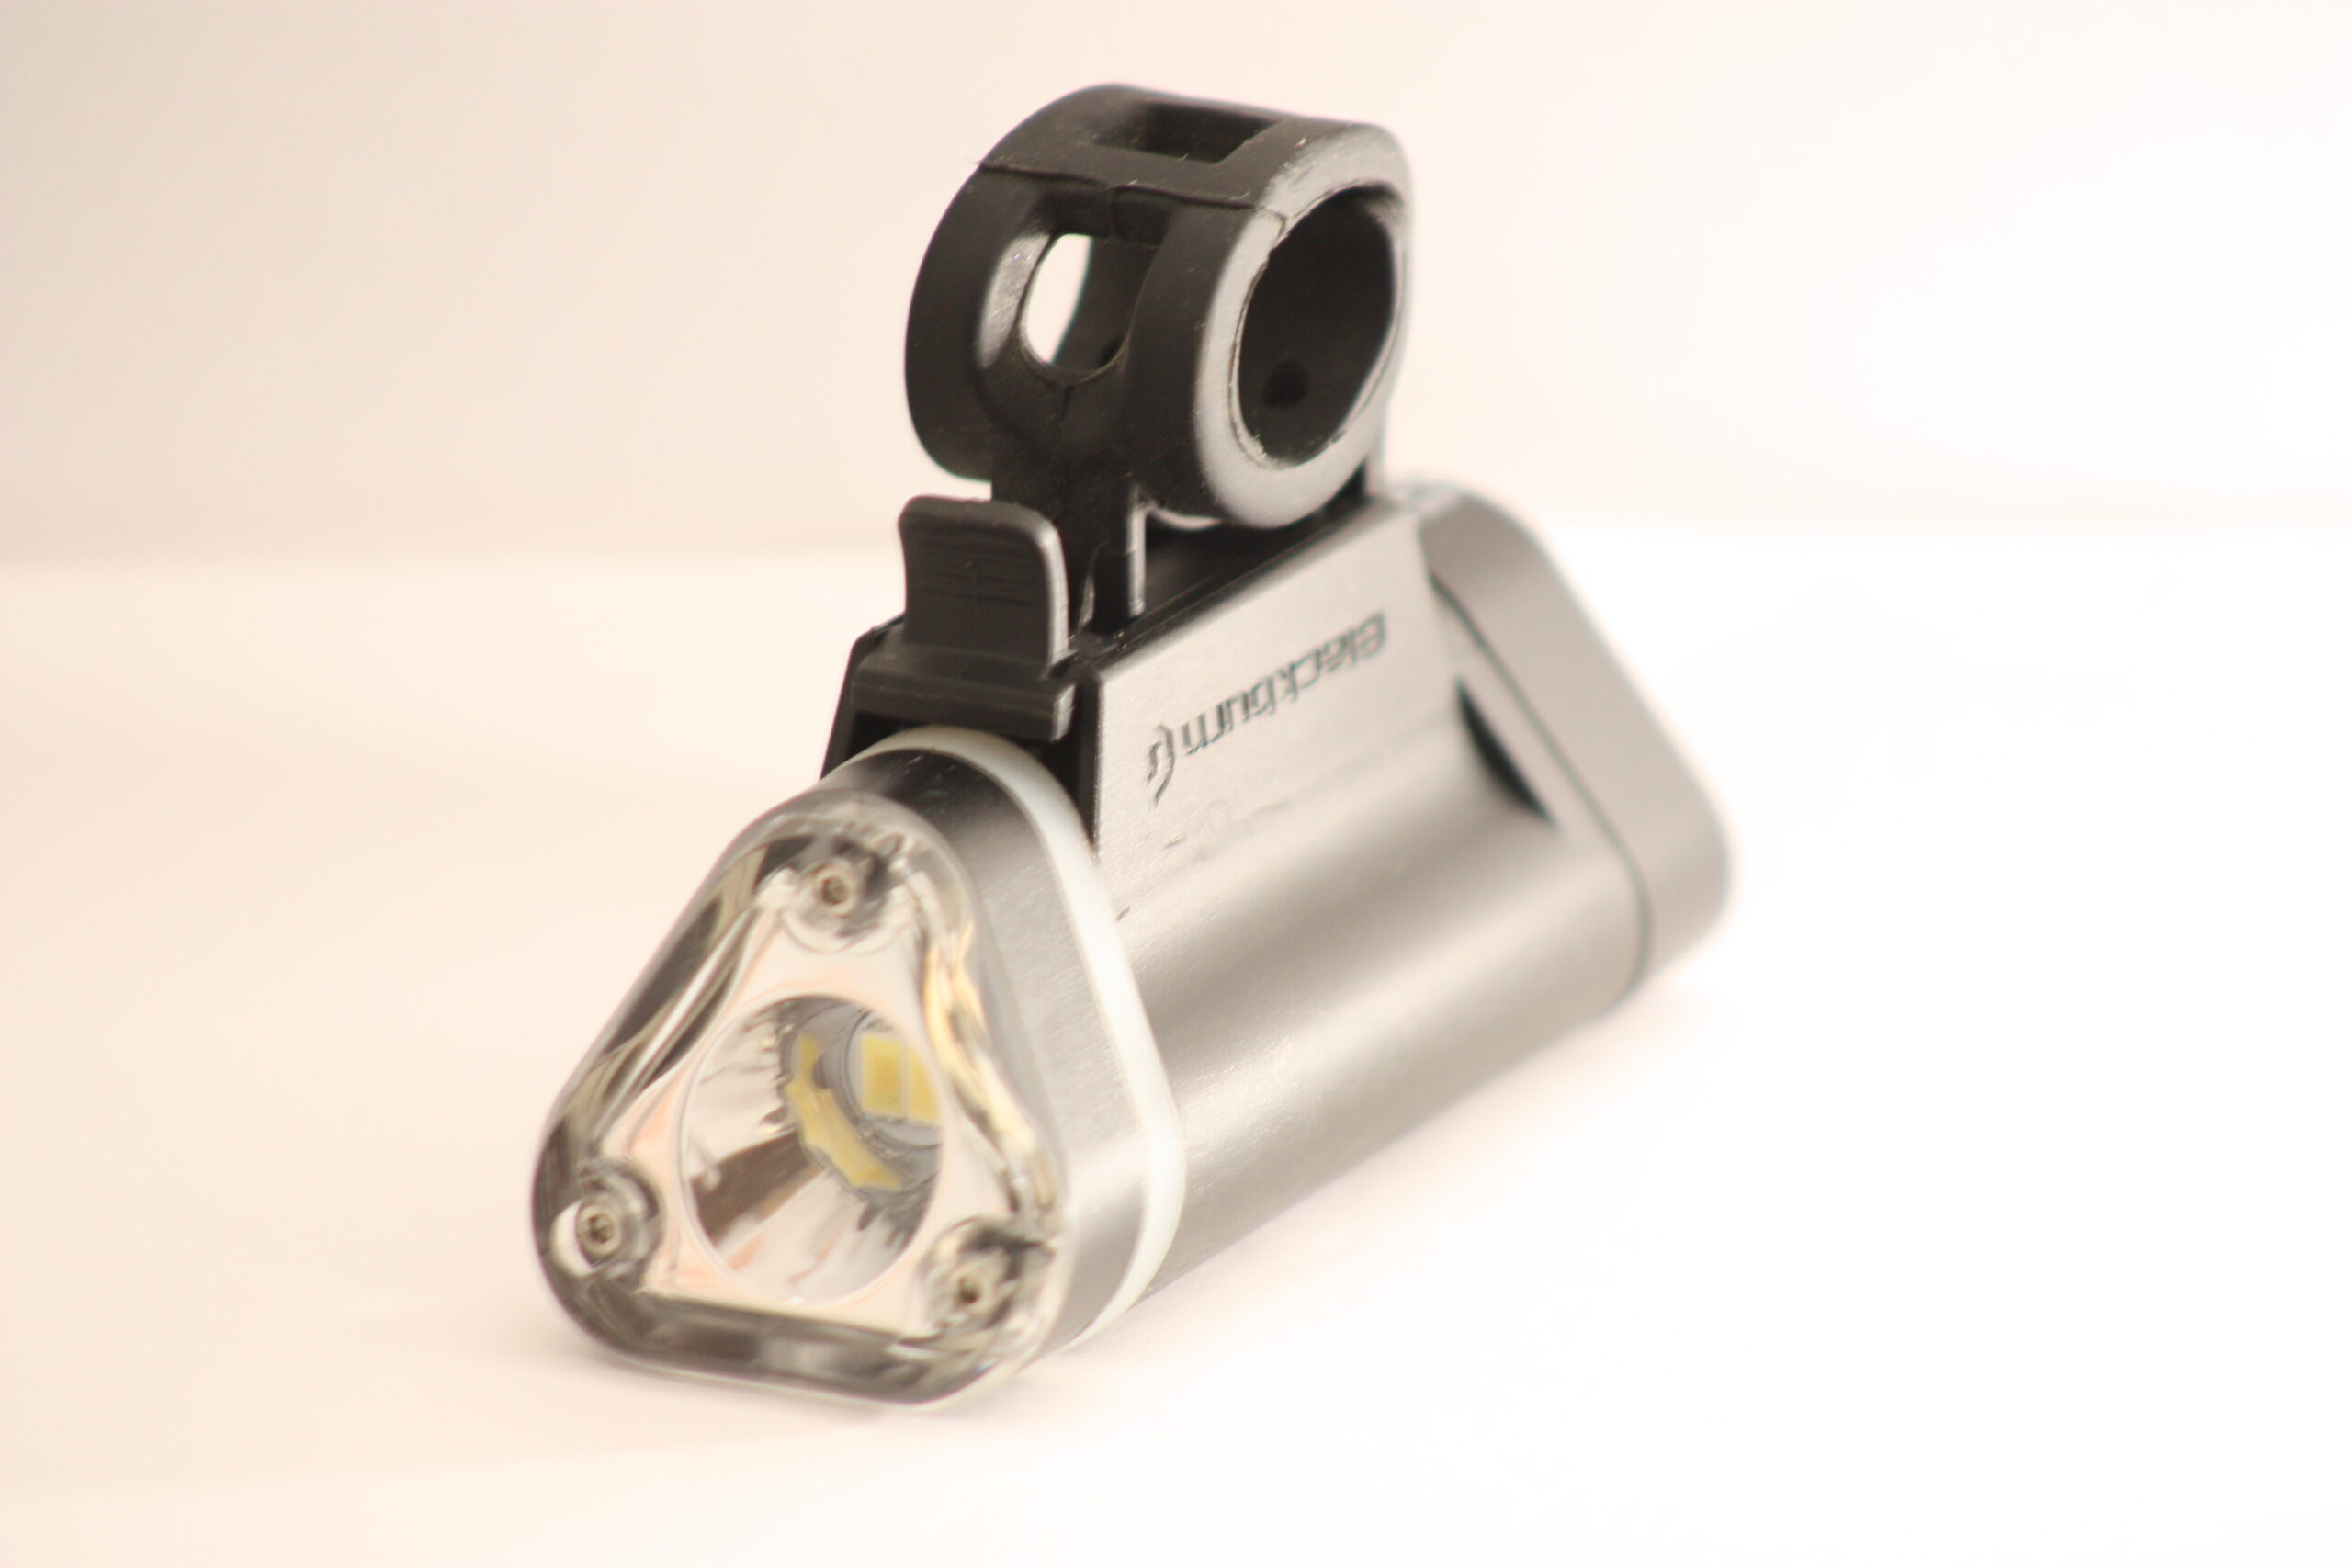
A light needs a mount that fits your bicycle, holds its position and leaves the lens unobstructed. Cycling UK advises checking handlebar dimensions, shape and available space, rather than assuming every bracket will fit. (cyclinguk.org)
Fit your normal bags before deciding where the lights belong. Then make these practical checks:
- Front: Is a basket, bag or cable blocking part of the beam?
- Rear: Can the lens be seen behind the loaded bicycle, without luggage covering it?
- Mount: Does the light lock into its bracket as the manual describes?
- Movement: Does a gentle hand check reveal slipping or looseness?
- Clearance: Can the handlebars turn normally without the light or its cables interfering?
Inspect flexible mounting bands too. CatEye’s ViZ300/ViZ450 manual warns against using a damaged rubber band and requires checking that the light is securely attached and functioning before riding. (cateye.com)
Set the front angle according to the exact manual, then inspect the beam in a suitable traffic-free location after dark. There is no universal aiming angle for every lamp. CatEye also calls for periodic bracket checks on the AMPP500. (cateye.com)
A clear view of the lights during this check is useful, but it does not prove visibility at a legally specified distance.
5. Compare runtime in the mode you will actually use
Maximum brightness and maximum runtime are usually different operating conditions. Read the mode-by-mode table rather than combining the biggest figures from the packaging.
For example, CatEye publishes these specifications for the AMPP500, model HL-EL085RC:
| Mode | Published output | Published runtime |
|---|---|---|
| High, steady | 500 lumens | 1.5 hours |
| Low, steady | 250 lumens | 3 hours |
| Flashing | 250 lumens | 50 hours |
These are manufacturer specifications, not controlbike.com test results. The flashing runtime does not describe 50 hours of steady road illumination. (cateye.com)
Consider two hypothetical commuting conditions:
| Question | Illuminated street commute | Commute including an unlit path |
|---|---|---|
| Daily lighting time | Two 25-minute journeys | Two 45-minute journeys |
| Main front-light priority | Visibility, including at junctions | Continuous surface illumination |
| Runtime calculation | 50 minutes between charges | 90 minutes between charges |
| What still needs checking? | Visibility, glare and dark gaps | Beam coverage at the intended riding speed |
Against the example specifications, 50 minutes is below the published 90-minute high-mode runtime. The second commute consumes the entire published high-mode runtime, leaving no planned reserve. That makes it a poor charging plan, even before accounting for delays or variation in actual performance.
Low mode offers longer published runtime, but the specifications alone do not establish whether its beam is adequate for that unlit path. Do not solve a runtime shortage by choosing a setting that no longer lets you see properly.
Add deliberate reserve time, and calculate the rear light separately. Manufacturer runtimes are approximate; CatEye notes that operating conditions affect lighting time. (cateye.com)
6. Make charging and rain protection practical
A rechargeable light is useful only if your routine keeps it charged. Check the connector, whether a cable is supplied, the approved charging arrangements and the expected charging time.
These details vary. Lezyne lists USB-C charging for its Fusion Drive 500+, with the cable not included; CatEye lists approximately four to eight hours to recharge the AMPP500. These are specification examples, not product rankings. (ride.lezyne.com)
Before purchase, ask:
- Can I charge both lights where I normally store the bicycle?
- Can I tell when charging is complete?
- Is removing and refitting the lights straightforward?
- What does the manual say about using external power?
Do not assume a USB port means the light can operate while charging or accepts every power pack. Lezyne identifies a specific compatible power pack for the Fusion Drive 500+ and explicitly excludes its older pack. (ride.lezyne.com)
For rain, look for a published water-resistance rating and handling instructions. CatEye lists IPX4 for the AMPP500; Lezyne lists IPX7 for the Fusion Drive 500+. Those ratings are not evidence that either light gives better illumination. Follow the charging-port and drying instructions rather than relying on the word “waterproof.” (cateye.com)
After a wet ride, check for moisture and dirt. Close port covers securely after charging and follow the exact manual’s charging-temperature limits.
7. Verify the rules where you ride
Lighting requirements are not universal. NHTSA notes that state laws can specify lights, reflectors, visibility distances and conditions beyond nighttime. Consult the current official rules for your state or country, plus any applicable local or path requirements. (nhtsa.gov)
Check these points before buying:
- Required front and rear colors.
- Whether flashing is permitted.
- Whether a rear reflector remains necessary with a light.
- Required side and pedal reflectors.
- Visibility distances and mounting requirements.
- Any separate electric-bicycle provisions.
California example, checked October 6, 2026: Vehicle Code §21201 requires specified equipment during darkness, including a white front lamp visible from 300 feet ahead and from the sides. The rear requirement permits a red reflector or a solid/flashing red light with a built-in reflector, subject to the stated visibility condition. Pedal/shoe/ankle and side-reflector provisions also apply. (leginfo.legislature.ca.gov)
Electric-assist note: California’s amendment effective January 1, 2026 also requires electric bicycles to meet that rear-equipment provision during all hours. This is a California example, not a rule for every reader. (leginfo.legislature.ca.gov)
Legal compliance and useful road illumination are separate checks: a light must meet applicable rules, but you still need to assess whether its beam suits your route.
8. Plan a backup and check before departure
Carry a working backup when losing a light could leave you riding in darkness. CatEye recommends a spare for unexpected shutoff; Cycling UK likewise recommends backup visibility lights. (cateye.com)
Match the backup to the problem. A small “be-seen” front light may help others notice you, but it should not be assumed capable of lighting an unlit path. If you cannot see enough to continue, stop somewhere suitable and arrange another way home.
Before leaving:
- Switch on both lights and confirm the intended modes.
- Check battery indicators.
- Inspect mounts and flexible straps.
- Clear dirt from lenses.
- Check that bags and clothing do not obscure the lights.
- Confirm that required reflectors remain fitted and unobstructed.
Avoid the common shortcuts: buying on lumens alone, planning around maximum flashing runtime, aiming the front light upward, or leaving charging until the low-battery warning appears. Some lights change mode automatically as power falls; the ViZ300/ViZ450, for example, switches to power-save flashing. Learn your model’s behavior before relying on it. (cateye.com)
The buying order is simple: route, beam, mount, usable runtime, charging, weather protection and local requirements. Lights support visibility; they do not replace alert riding, sound bicycle condition or a suitable route. The League of American Bicyclists recommends lights and reflectors when visibility is poor alongside wider riding precautions. (bikeleague.org)